When you’ve finished knitting your hat, there are still a few live stitches left on your needles. To close the top of the hat, you will need to gather the remaining stitches.
This technique is very easy, and it is used for hats knit from the bottom up (from the brim to the crown of the hat). It is suitable both for hats knit seamlessly in the round or worked flat and seamed.
All you need is your hat, scissors, and a tapestry needle.
You will find the photo tutorial shown below.
Save this post for later!
Step 1: Cut the yarn, leaving a tail of approximately 15-20 cm (6-8″). It is better to leave a longer tail than to run out of yarn.
Next, thread the yarn tail through a tapestry needle.
If you are using a stitch marker to mark the beginning of a round, you can remove it.
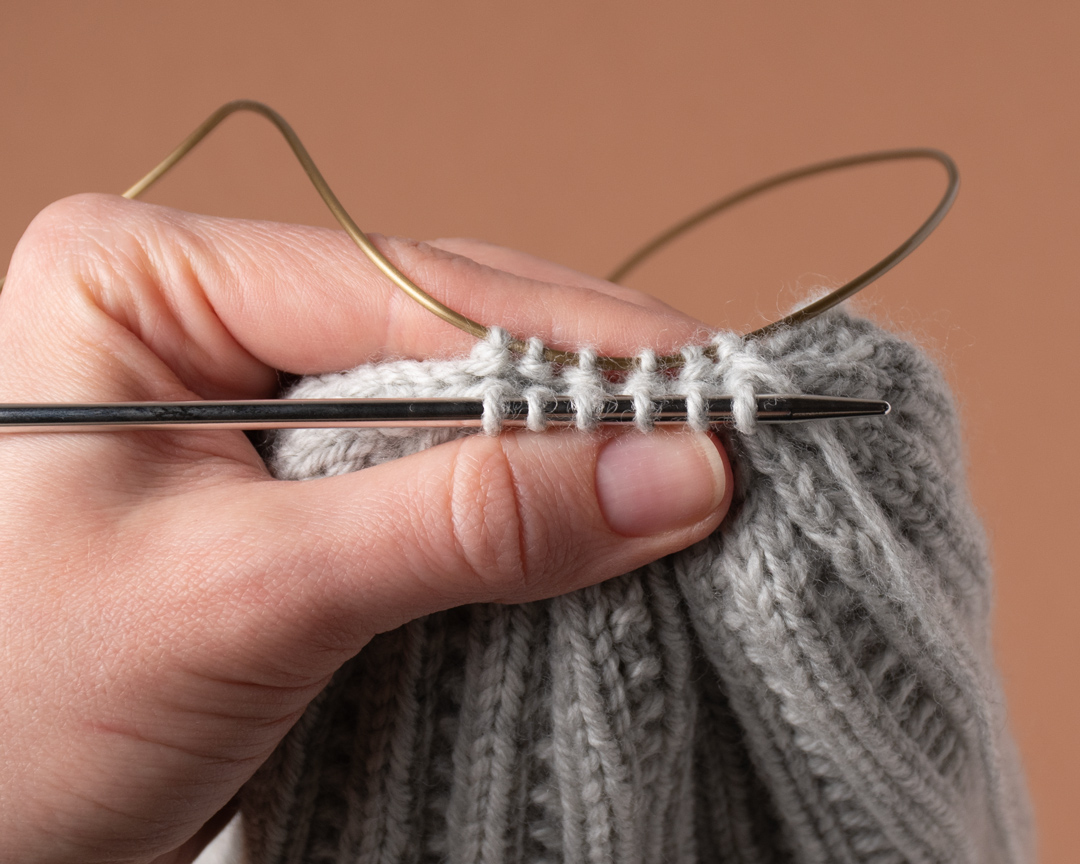
If you are using circular needles and the magic loop method, then it is comfortable to have approximately half of the stitches on the left-hand needle, and the other half on the cord. The set-up is the same as for the magic loop; the only difference is that you are going to use your tapestry needle instead of the right-hand needle.
Step 2: Insert the tapestry needle into the first stitch on the knitting needle purlwise (from right to left).
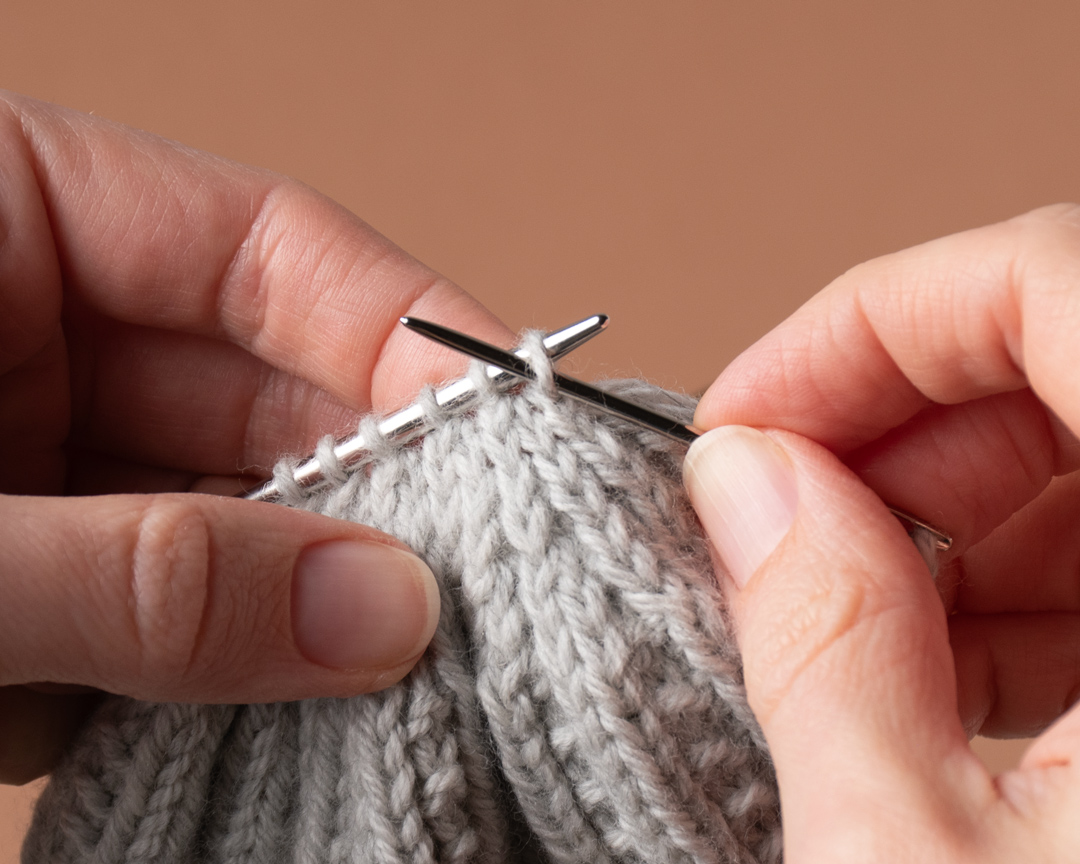
Slip the stitch off the knitting needle.
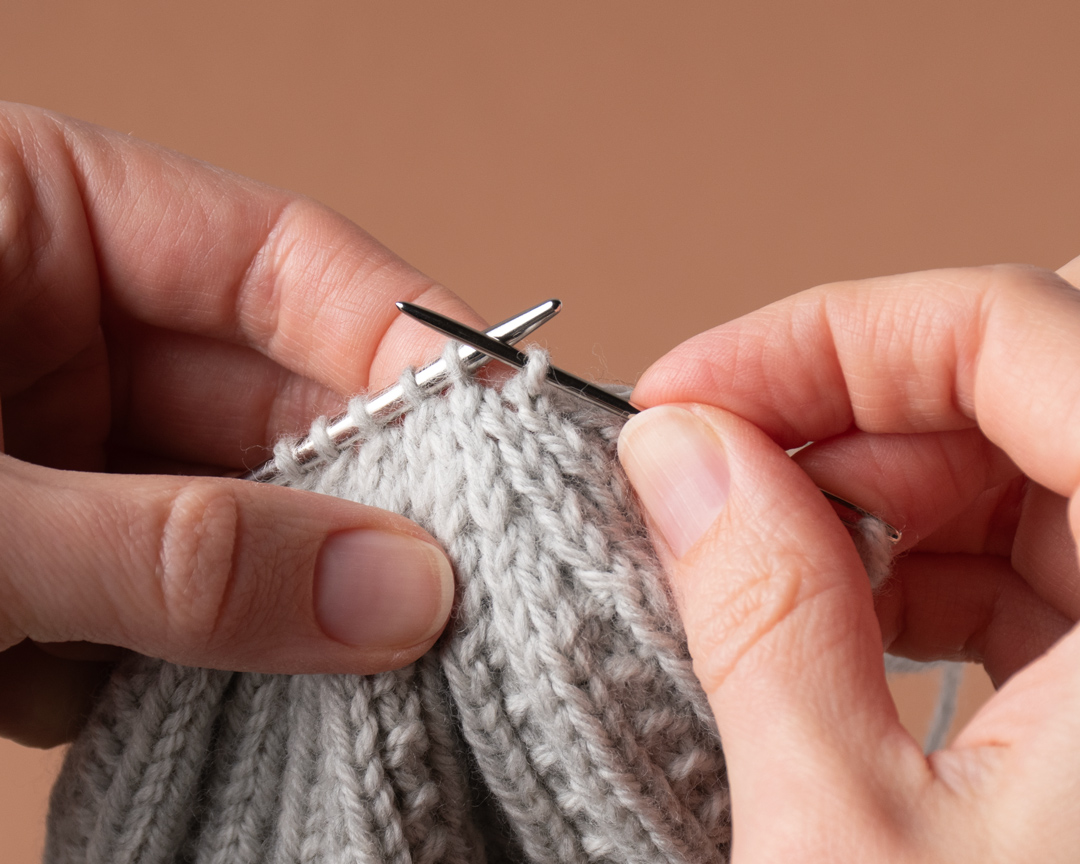
Draw the yarn through the stitch.
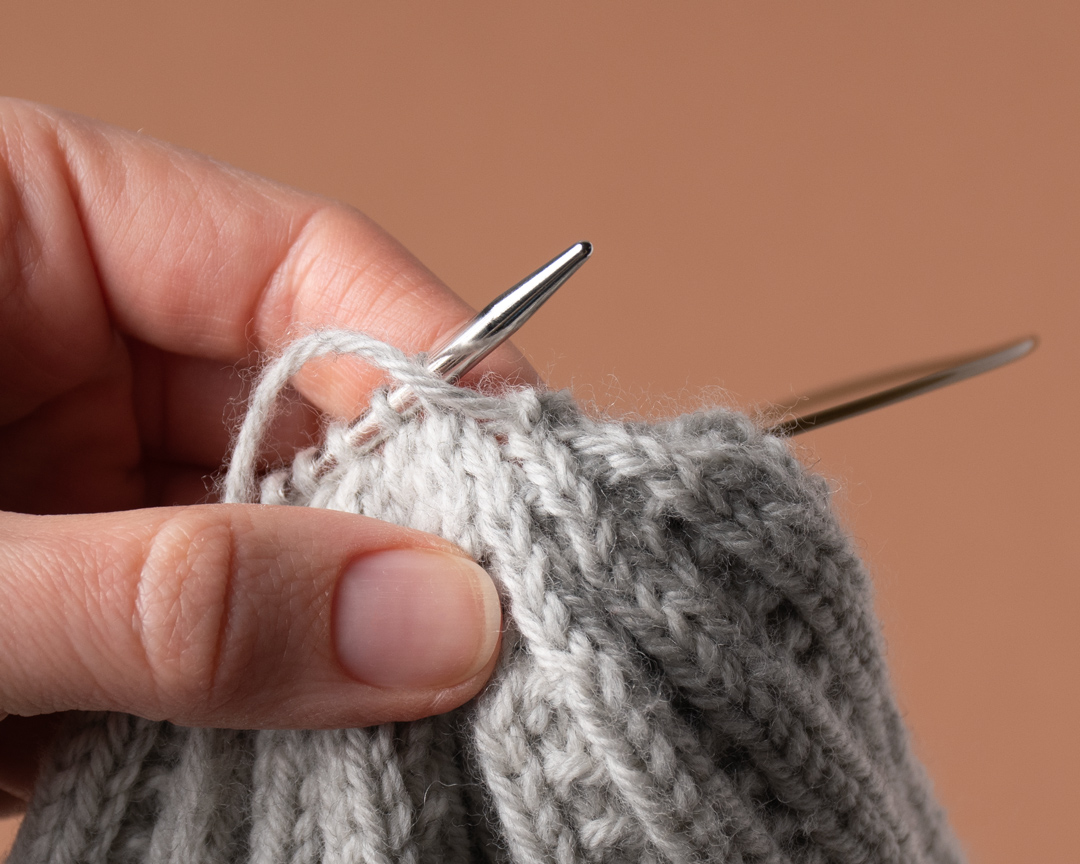
Repeat this with the remaining stitches – insert the tapestry needle into each stitch, slip it off, draw the yarn through. You can slip the stitches one by one or slip a few stitches at a time.
When you are done, all the stitches are slipped off the needles onto the yarn tail.
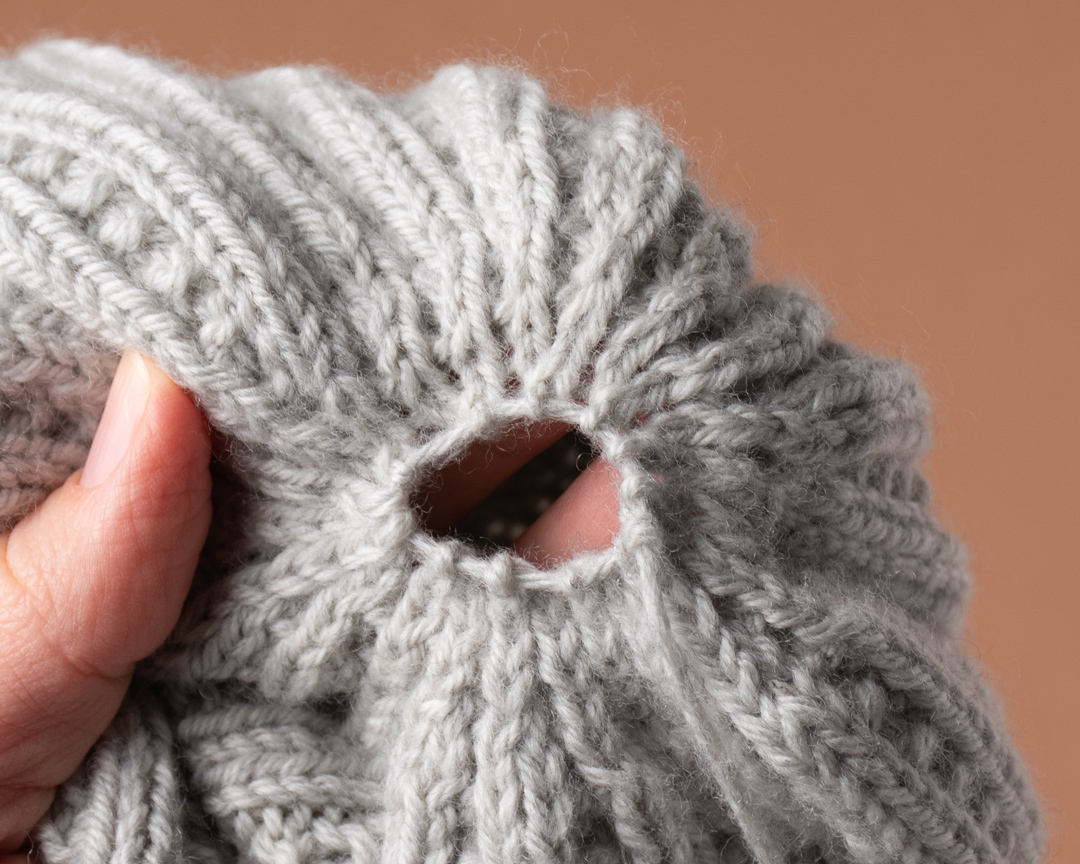
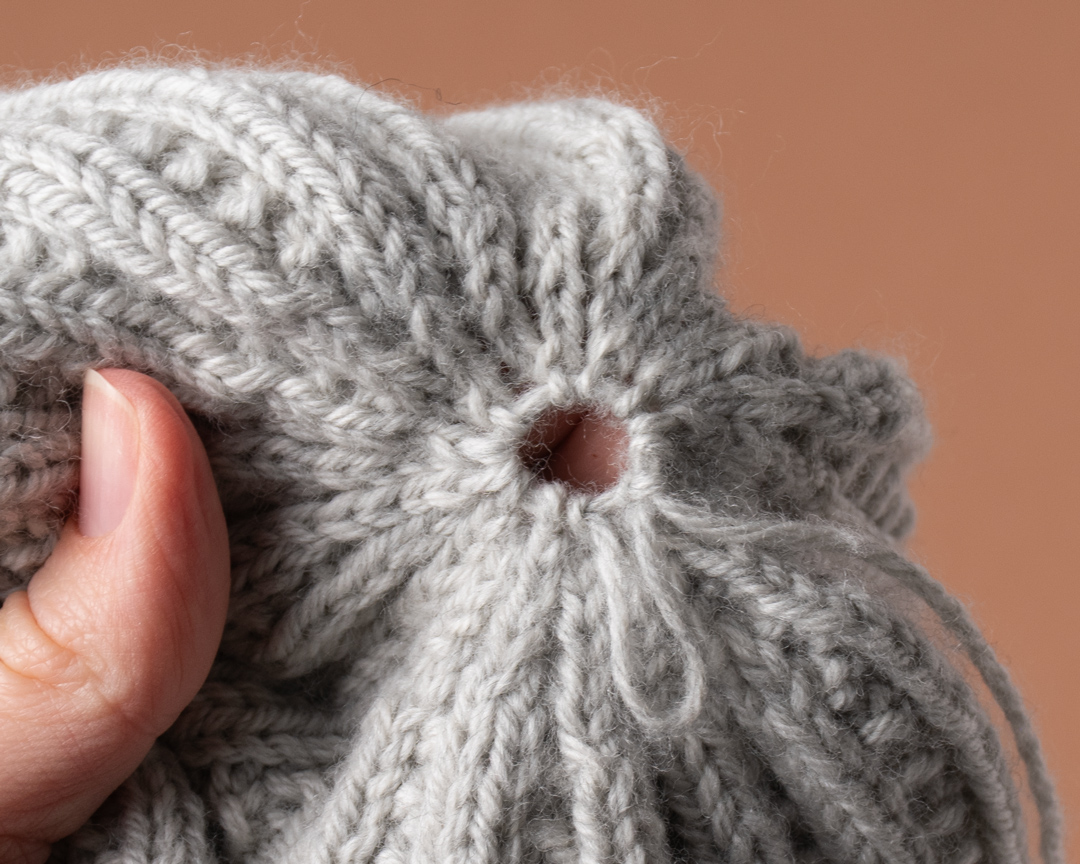
Step 3: Carefully pull on the yarn tail to gather the top of the hat, but don’t pull the opening shut just yet.
Now run the yarn through all the stitches a second time. Since the opening is still loose, you can clearly see each stitch.
The second round will help secure the top, and an additional thread will help hide the hole.
It is best to go slow, one stitch at a time, so you won’t split the yarn.
When drawing the yarn through the stitches the second time, don’t pull the yarn all the way through, leave a small loop at the beginning of the round – this will prevent the yarn from tangling when you will be closing the opening.
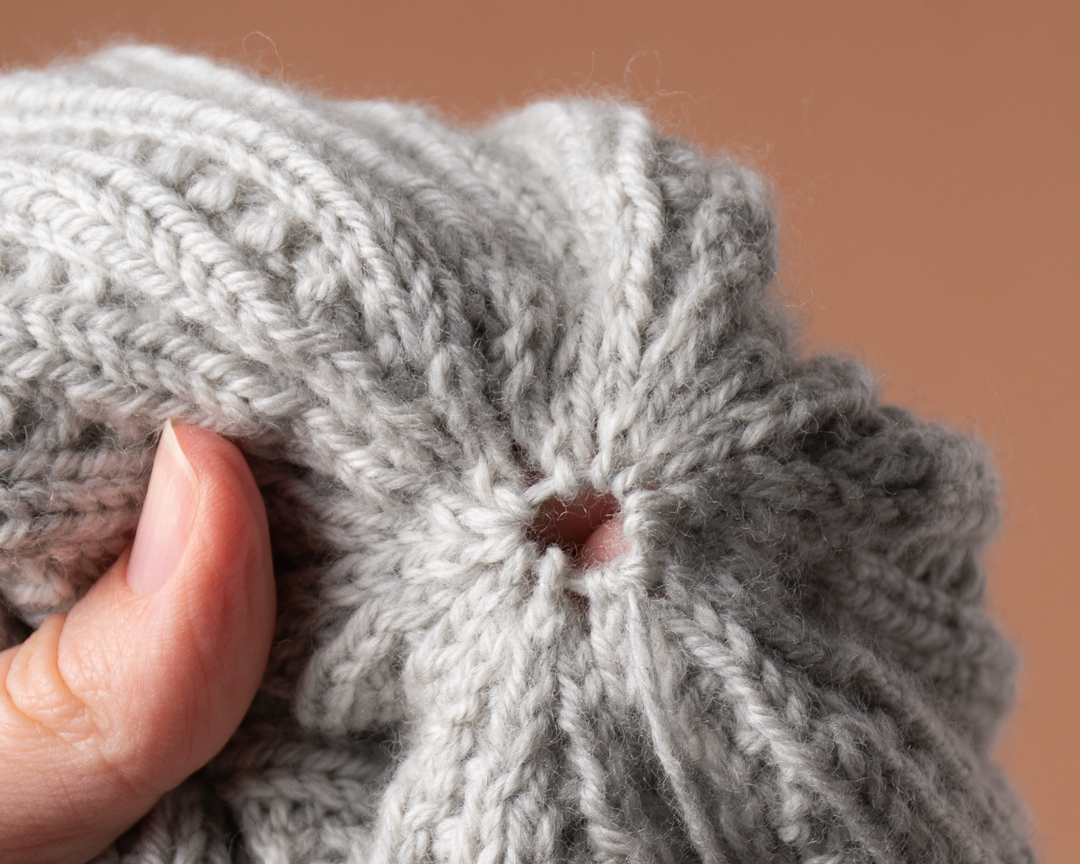
Pull on the loop to close the opening.
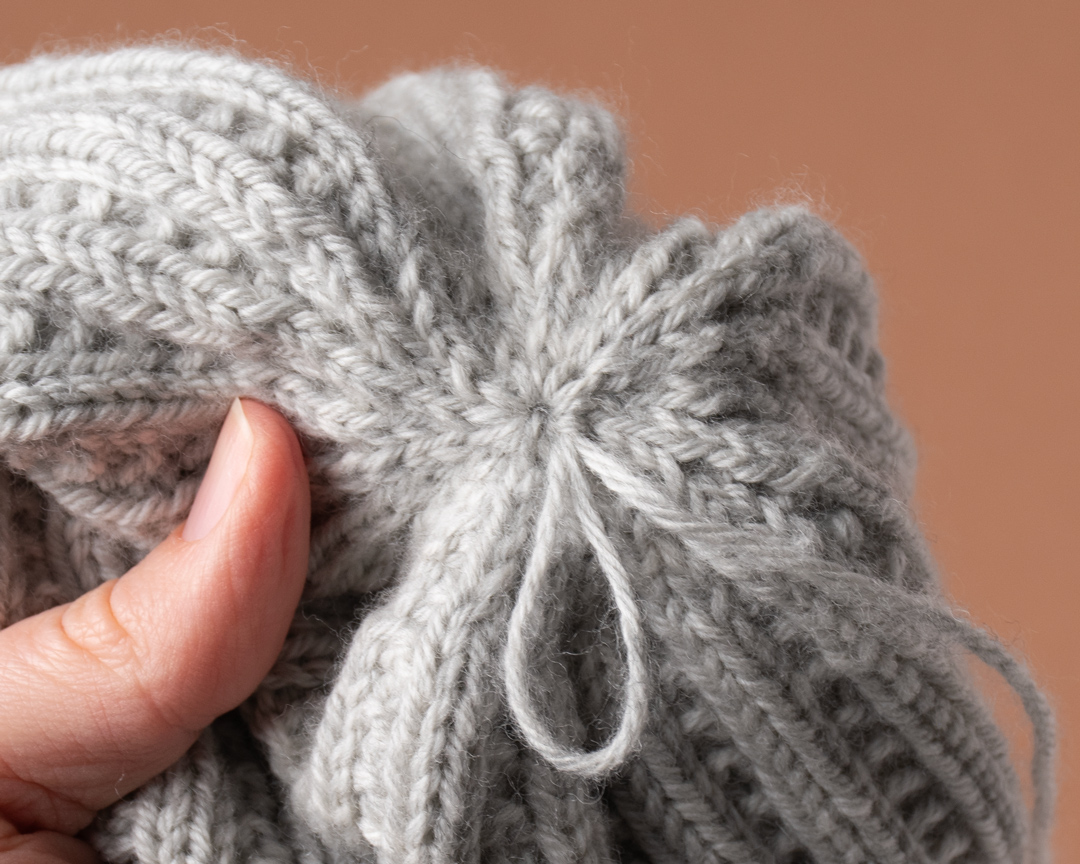
Next, pull on the yarn tail to cinch the hole closed. Pull tightly, but be careful, you don’t want to break the yarn.
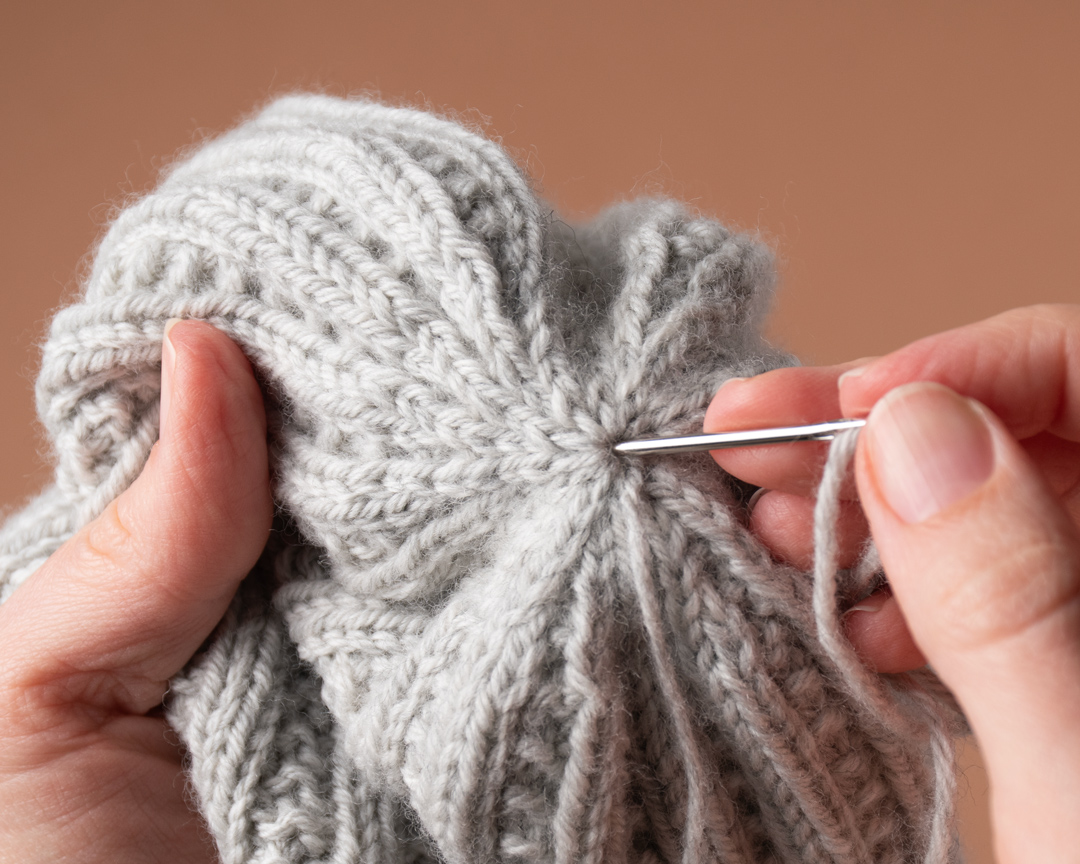
Step 4: Lastly, pull the tail to the inside through the top of the hat. Pull on the tail again to fully close the top and weave the tail in.
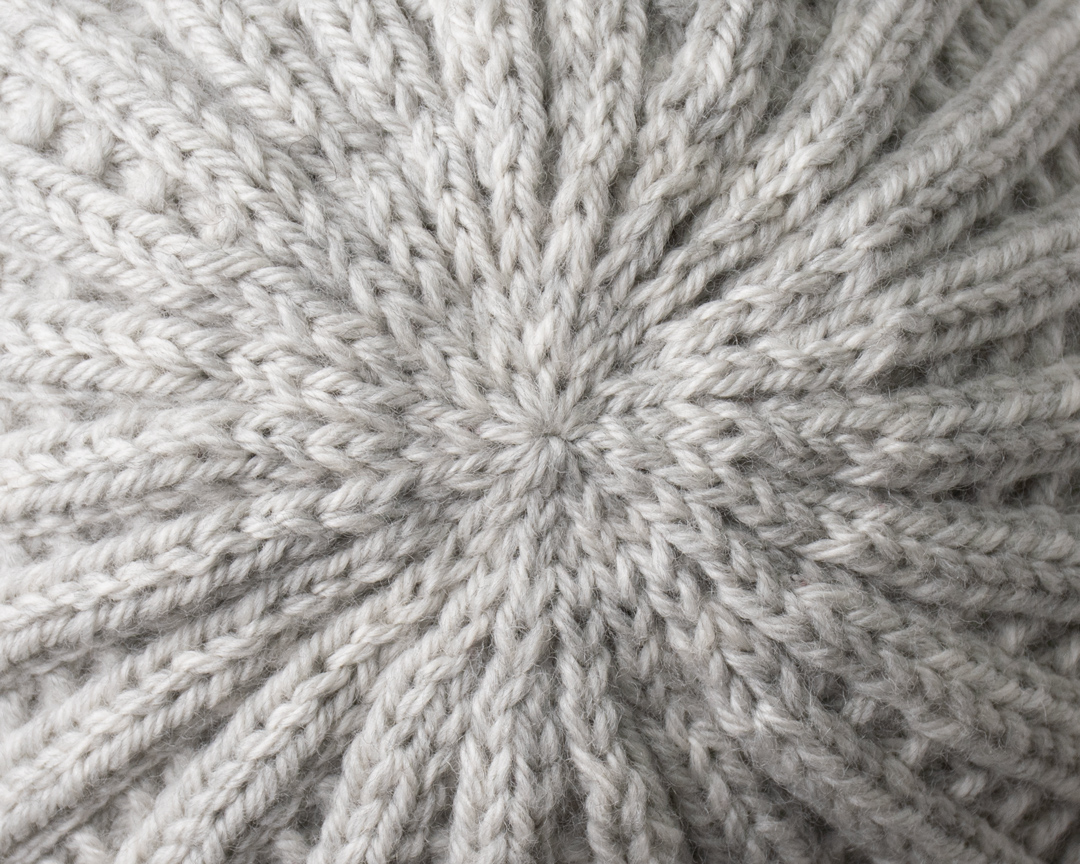
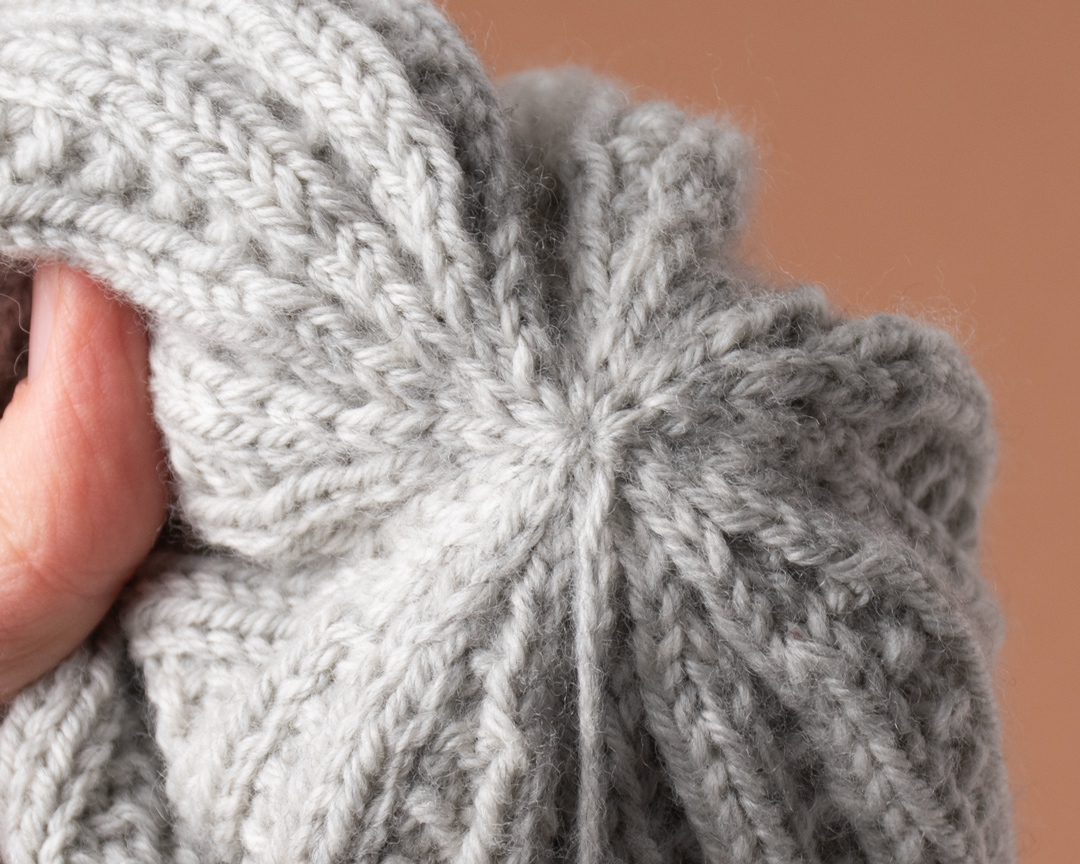
And this is the final result. The top of the hat is closed, and there is no visible hole.