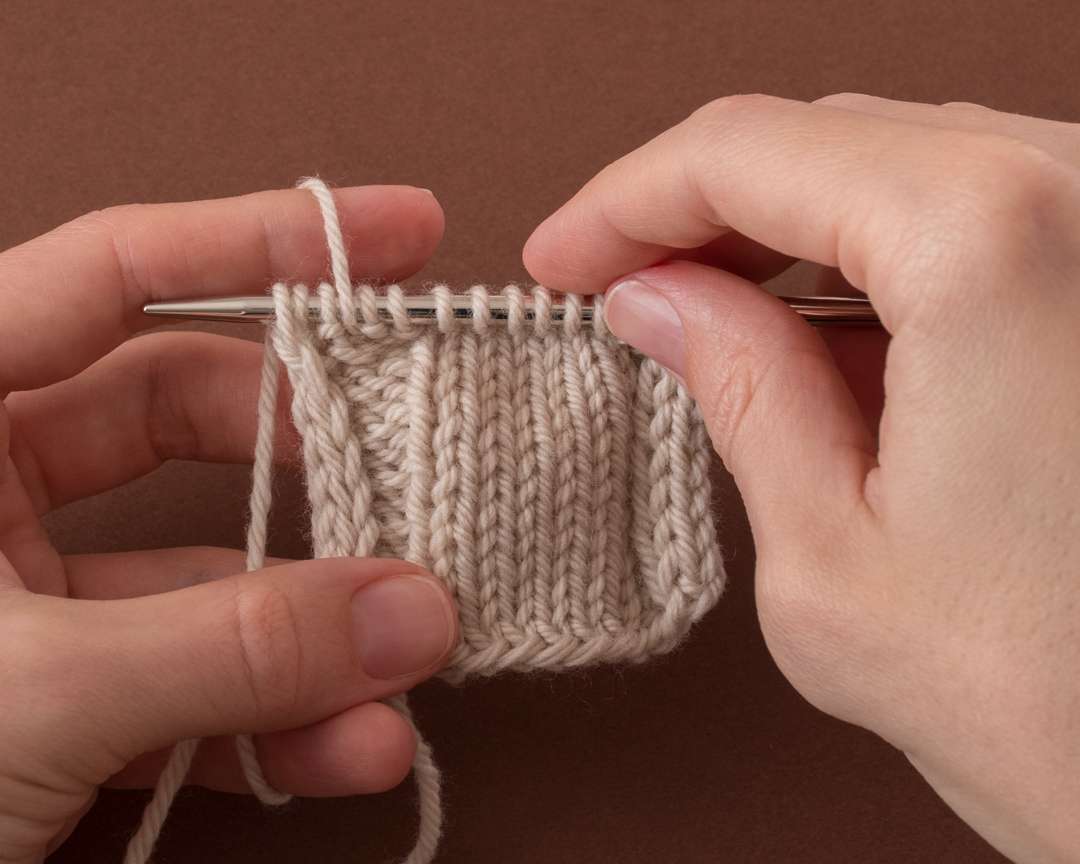
I-cord edges are great for projects with open edges, such as headbands, scarves, bandanas, etc. I-cord creates beautiful edges and keeps your knitting flat and neat. And i-cord edging is really easy to knit.
Typically, there are two types of i-cord edges – double and triple. The double edge consists of two stitches, and the triple of three stitches. Triple edge is a bit more prominent and thicker.
If you would like to practice this technique, it is used in the following knitting patterns:
- Grapevine Headband knitting pattern
- In the Thicket Headband knitting pattern
- Tangled Roots Headband knitting pattern
Save this post for later!
RELATED POSTS:
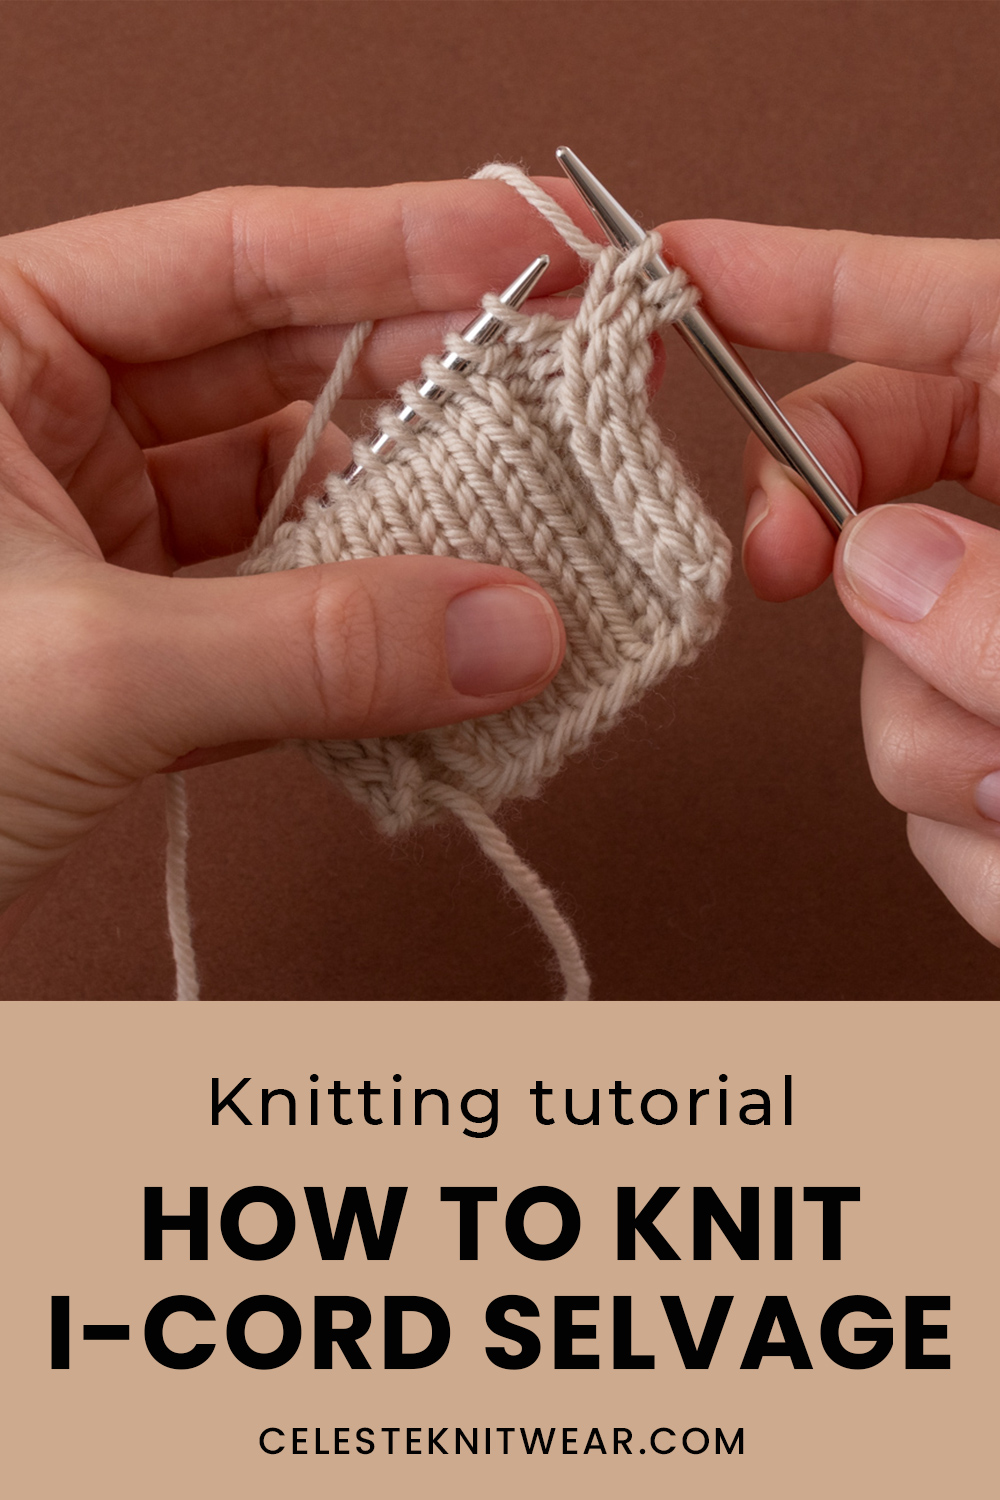
How to knit i-cord edge
There are different ways to knit an i-cord edging.
I prefer the following method because it looks great, is quick to knit, and is easy to memorize.
You will repeat the exact same steps both on the right and wrong sides of your knitting.
For this example, I am using a triple i-cord edge. For a double edge, you will repeat the steps, working two stitches instead of three.
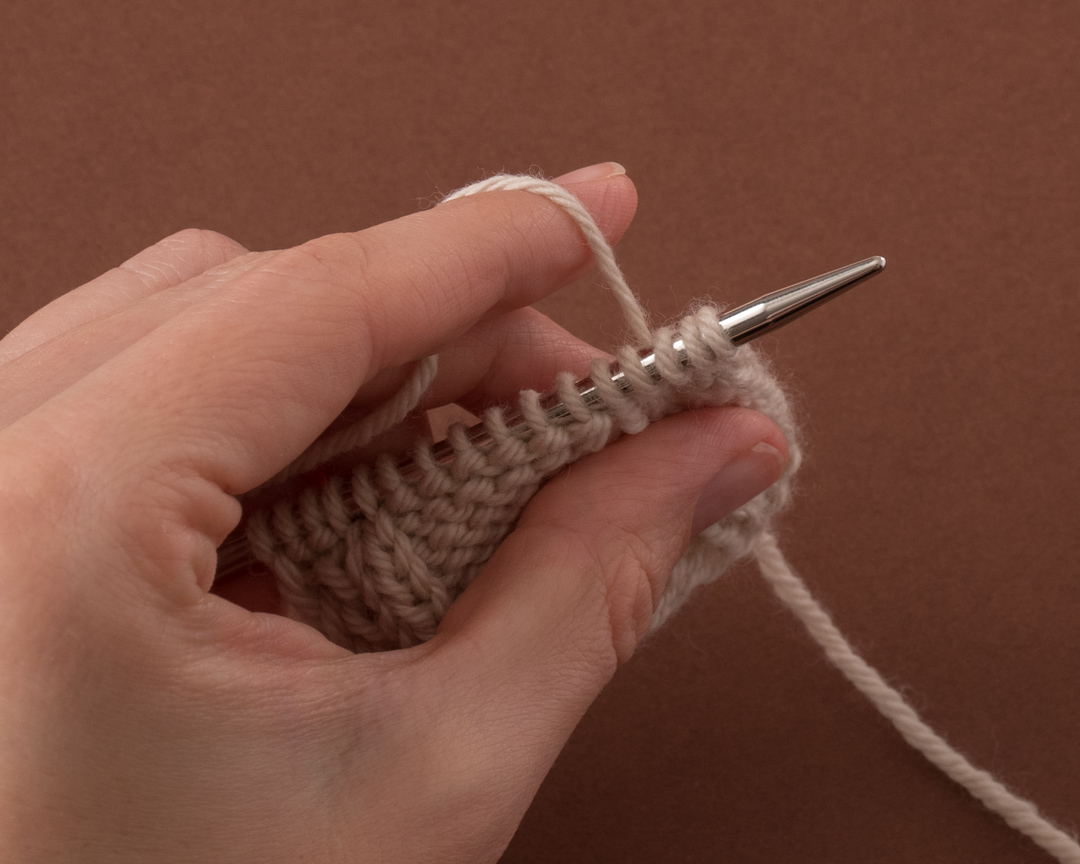
At the beginning of a row: Knit the first three stitches, then work in pattern until there are 3 stitches left.
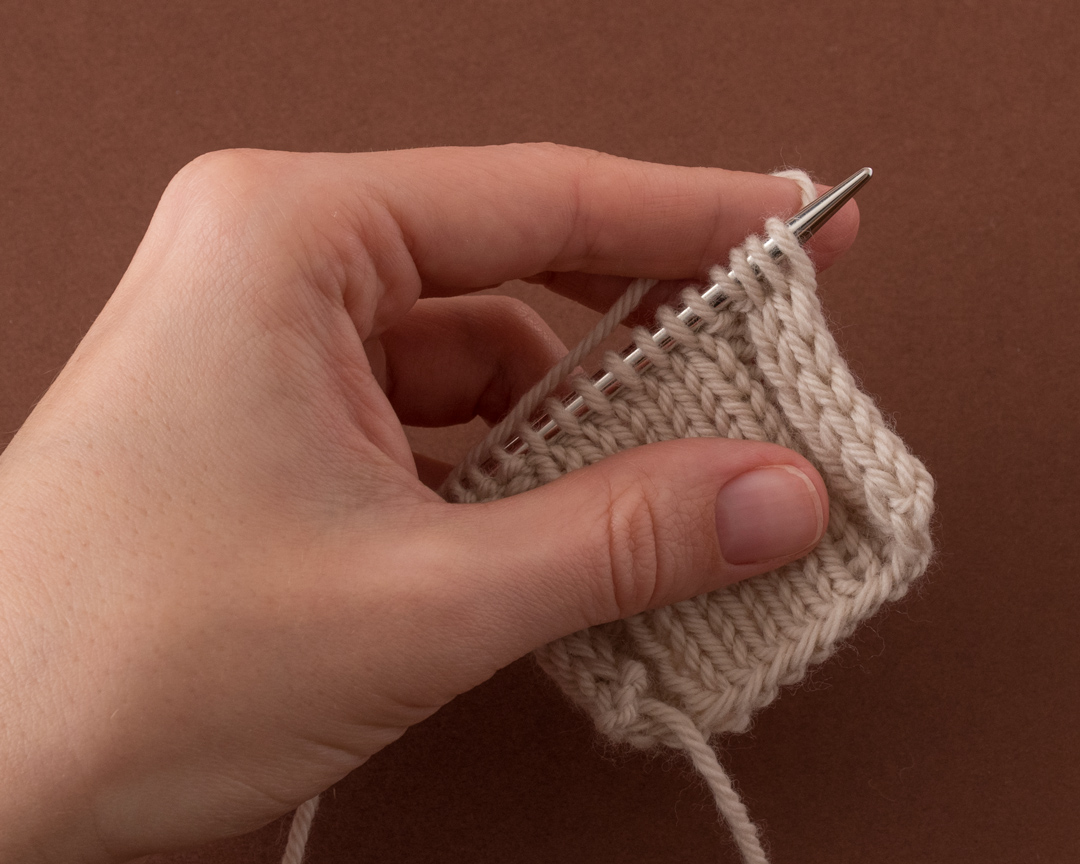
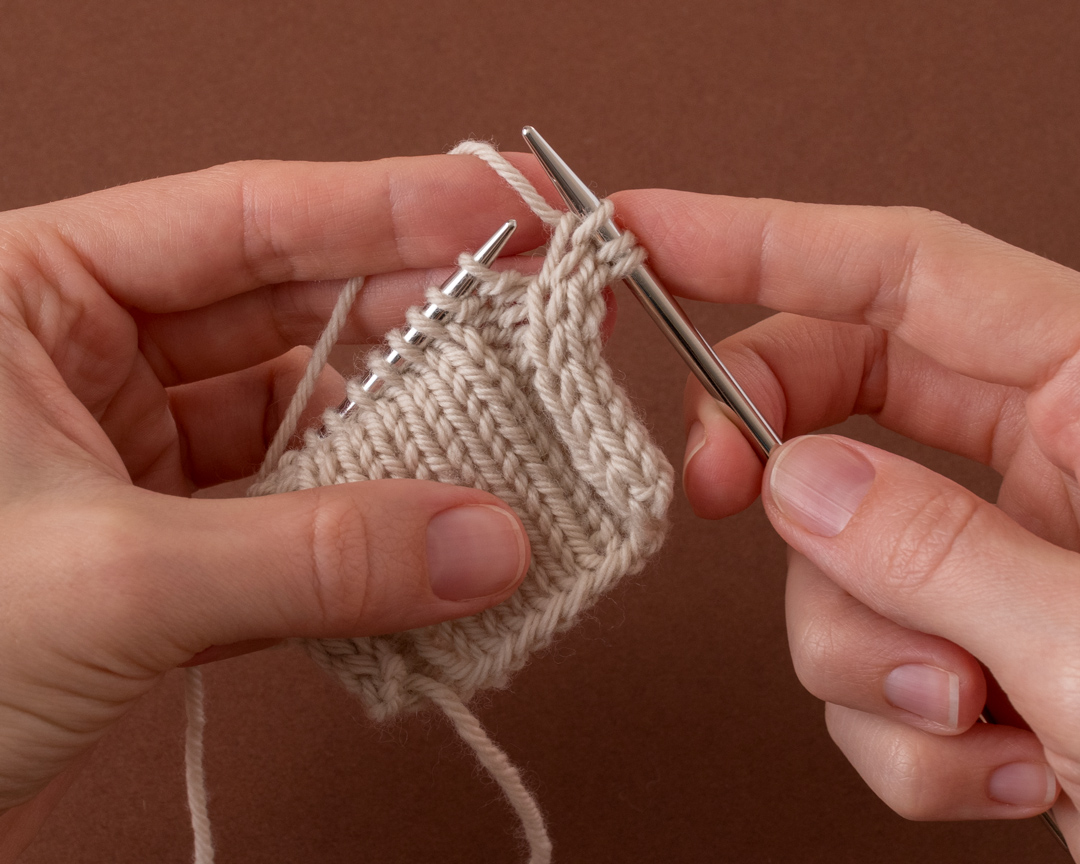
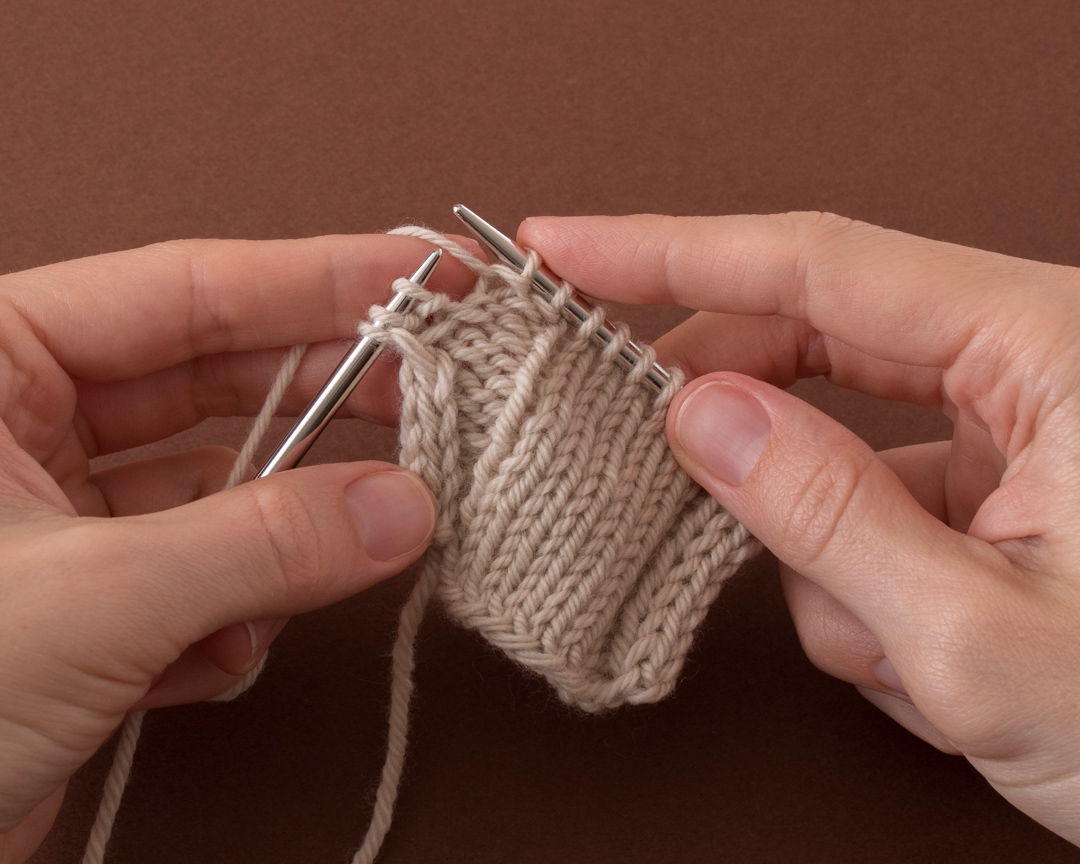
At the end of a row: Slip the last three stitches purlwise with yarn in front – simply bring the yarn forward and slip the stitches.
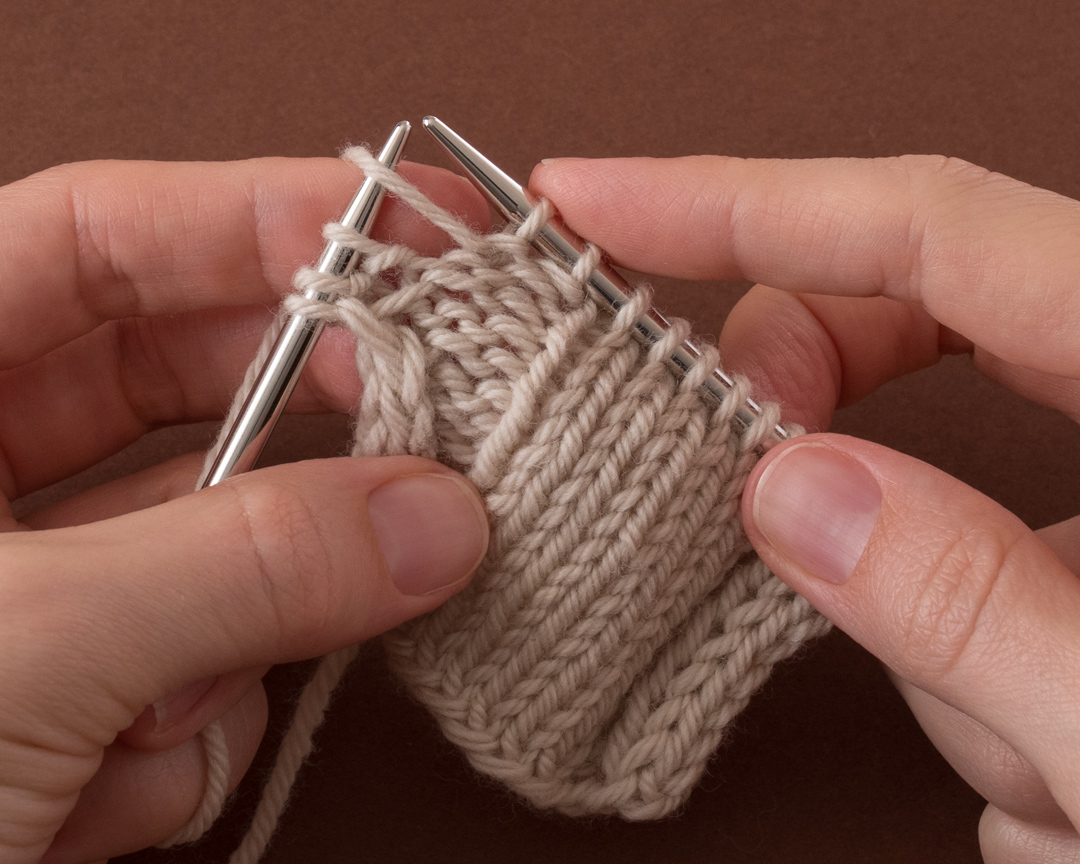
That is it, turn your work and repeat the previous steps.
When you turn your work, the yarn will be connected to the third stitch on the needle, since the stitches were slipped and not knit. That is normal; this is how the i-cord is formed.