This post may contain affiliate links, meaning we may make a small commission on items purchased through links in this post at no extra cost to you.
Pattern Overview
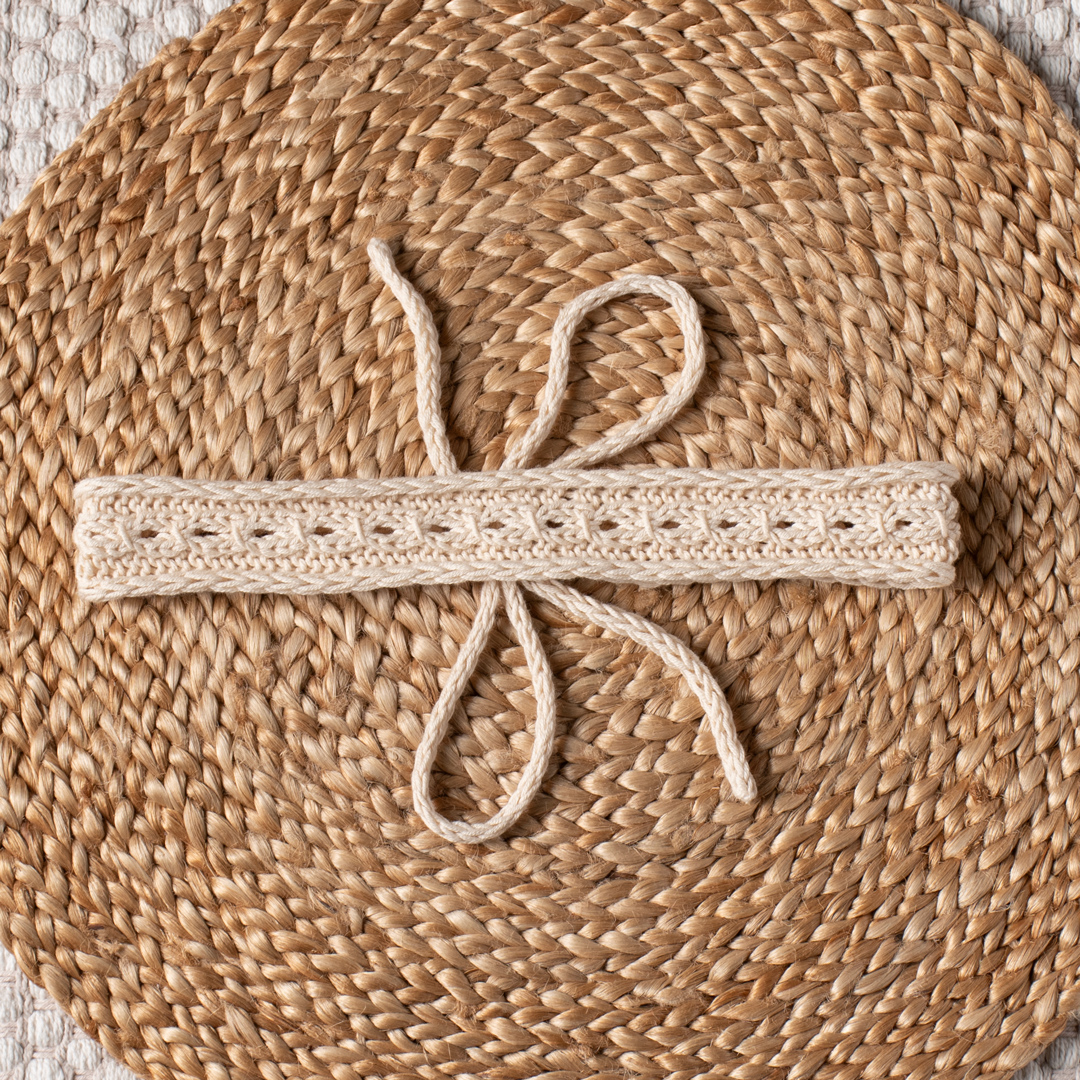
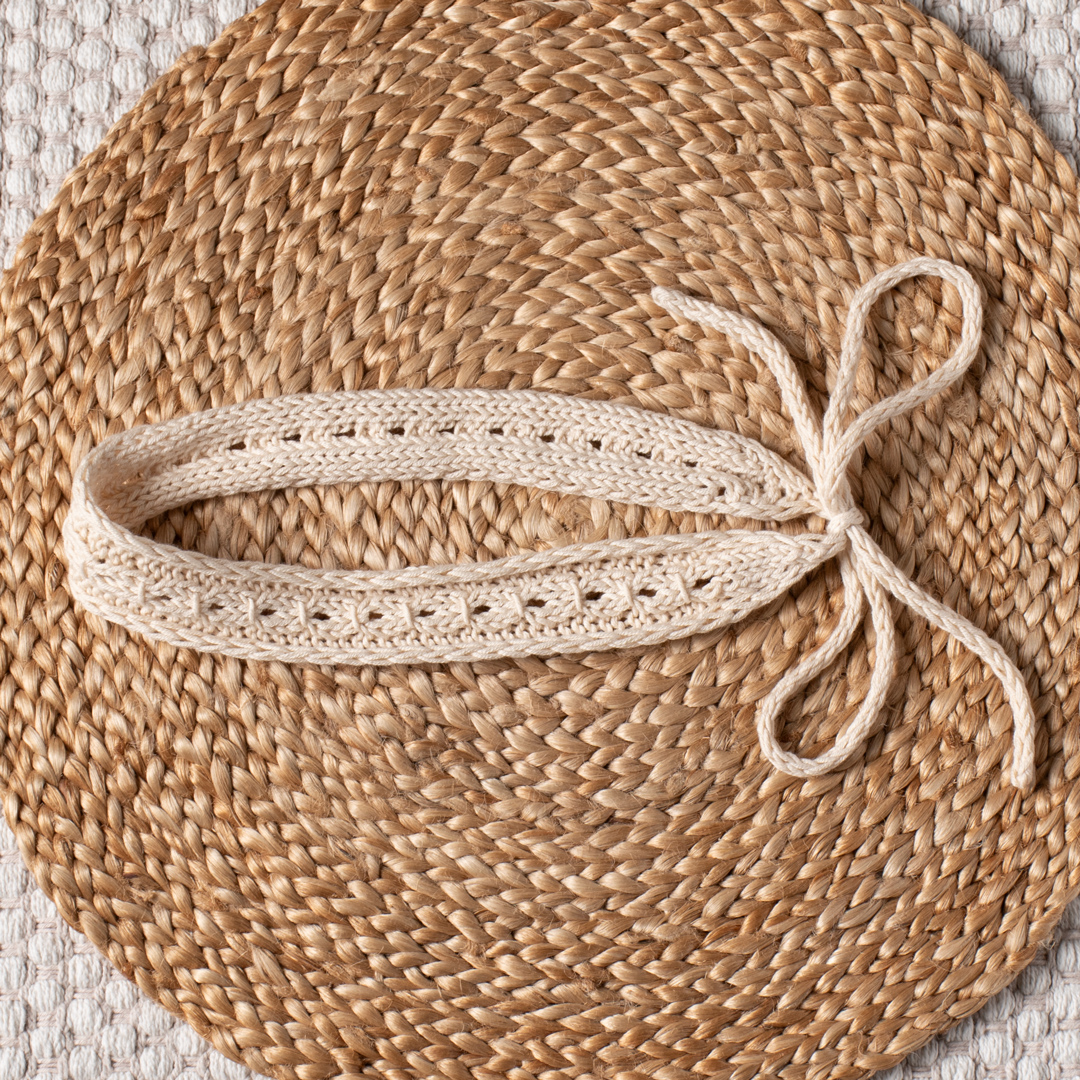
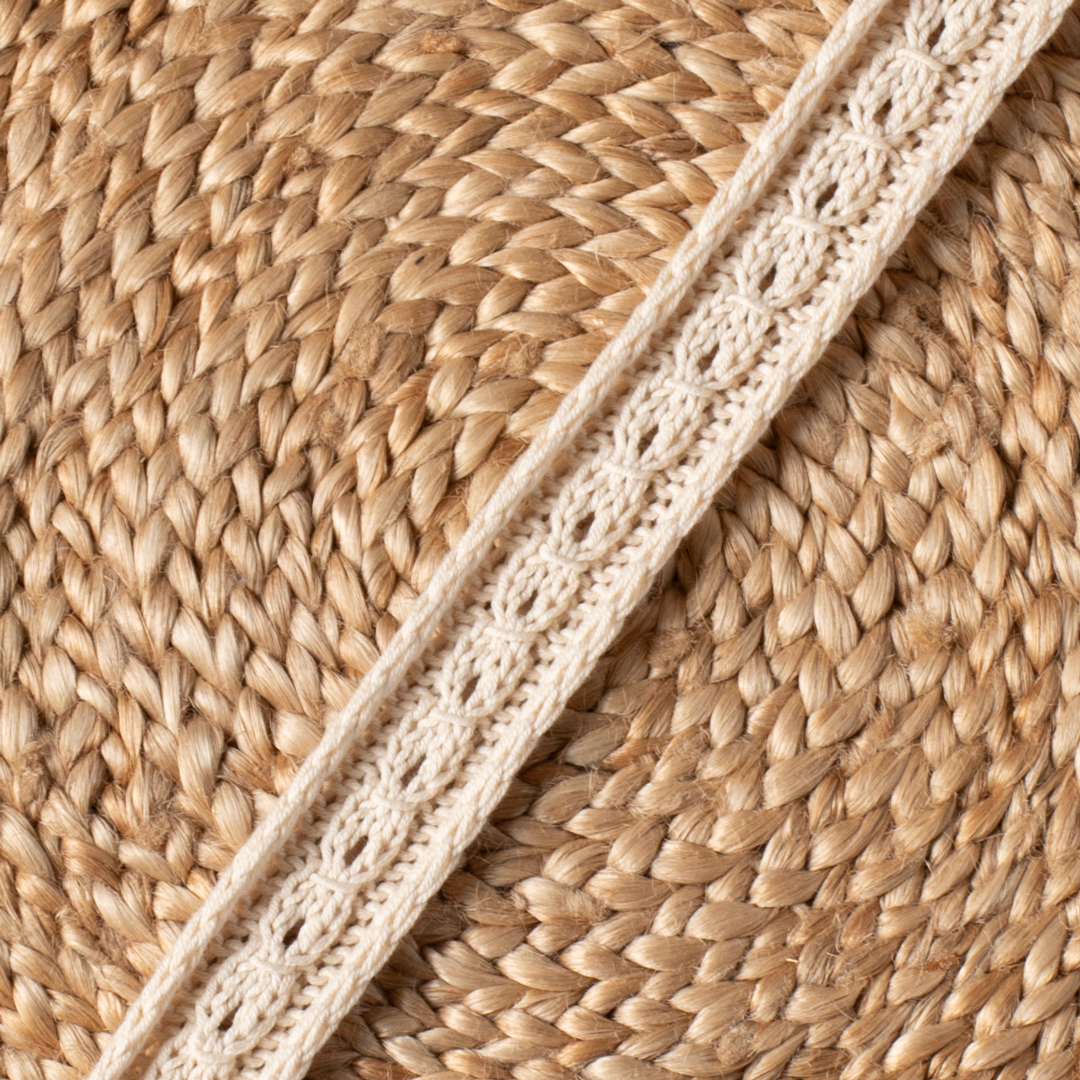
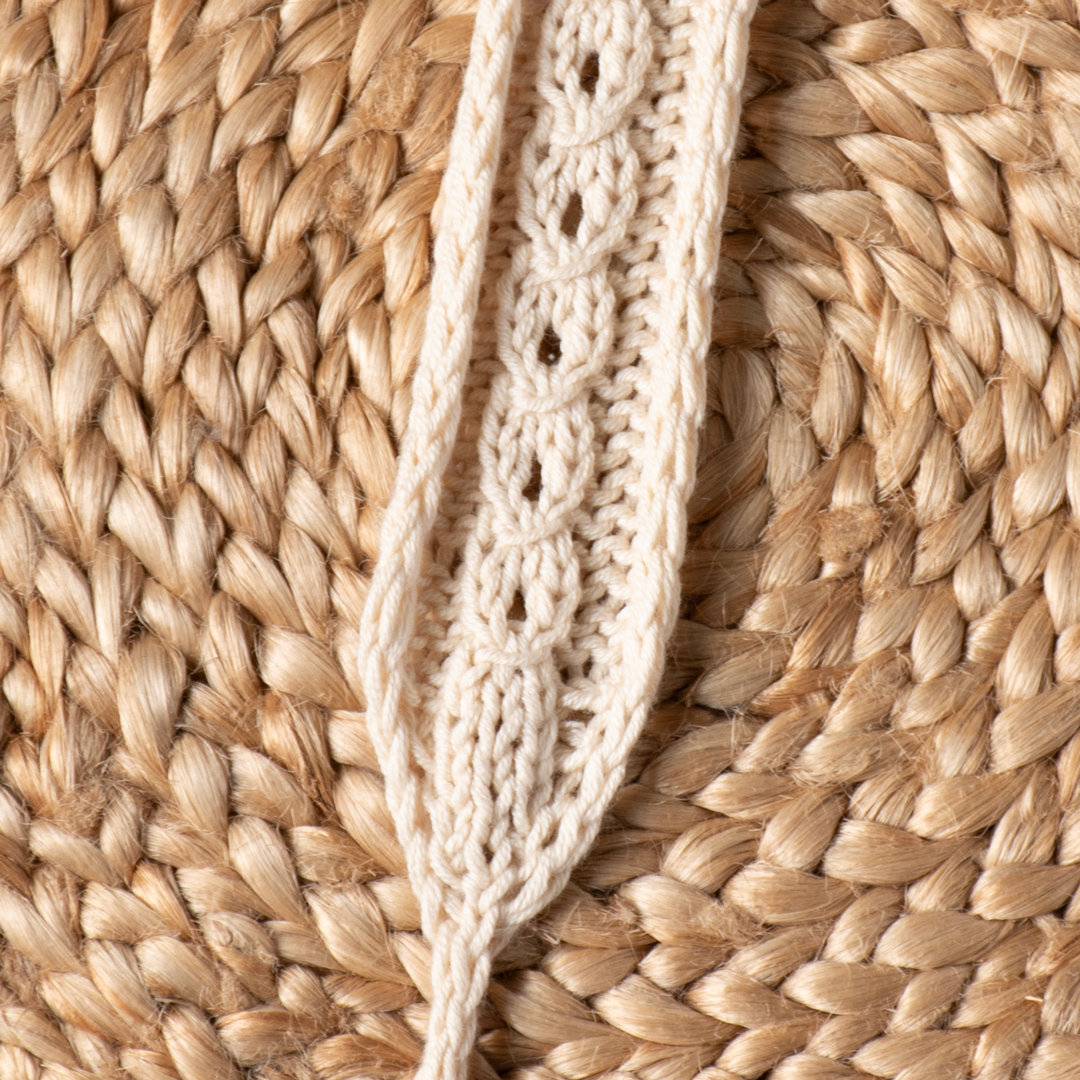
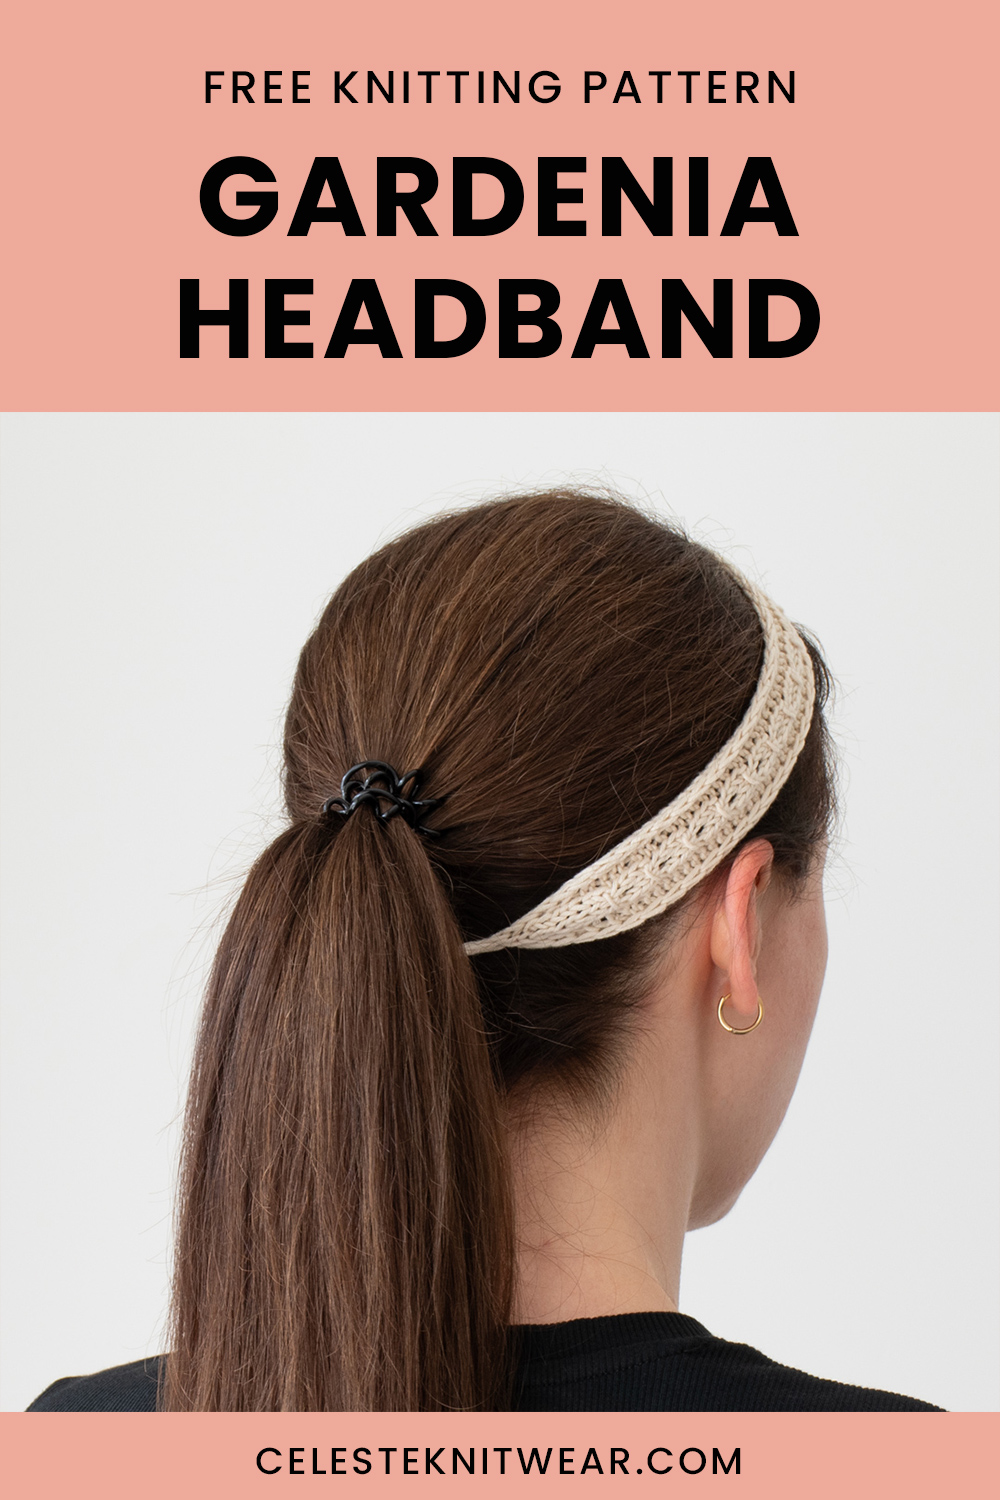
The Gardenia Headband is a beautiful summer accessory. The headband features a mock lace cable.
The headband is knit back and forth. The first and last 2 stitches form an i-cord edging, which makes the edges look neat and prevents them from curling.
You can easily modify the size of your headband by adding or subtracting pattern repeats.
The headband starts with the first i-cord tie, then it grows with increases on the right side. Then you will knit a long rectangle. When you reach your desired length, you will decrease the stitches and knit the second tie.
Size
One size.
Finished measurements:
Length without ties: 45cm/ 17.75in.
Width: 3.5cm/ 1.5in.
Gauge
10 x 10 cm (4x4in) = 24 sts x 32 rows in stockinette stitch after blocking.
Yarn
Needles
3mm (US 2.5) knitting needles.
This project includes i-cord ties that are best worked with DPNs.
Notions
Tapestry needle, measuring tape, and scissors.
You might also like these patterns:


k – knit.
k2tog – knit 2 stitches together.
k3tog – knit 3 stitches together: slip the next 2 stitches knitwise (slip both stitches together, not one by one) to the right-hand needle, knit the next stitch, pass the 2 slipped stitches over the knit stitch.
M1L – make 1 left.
M1R – make 1 right.
p – purl.
p2tog – purl 2 stitches together.
pkyk – pass, knit, yo, knit – pass the 3rd stitch on the left-hand needle over the first 2 stitches, k1, yo, k1.
RS – right side.
sl – slip stitch as if to purl with yarn in front.
ssk – slip 1 stitch knitwise, slip the next stitch knitwise, return the 2 stitches back to the left needle, knit those 2 stitches together through the back loops.
WS – wrong side.
yo – yarn over.
*-* – repeat the instructions in between the asterisks the number of times specified.
Pattern notes
Do not tighten the edge and increase stitches.
If you want to simplify the pattern, you can replace the M1L and M1R increases with yo.
To make the headband longer – add more pattern repeats, to make it shorter – substract pattern repeats. One pattern repeat is 4 rows.
Be sure to check out other spring/summer headband knitting patterns.
Save this post for later!
GARDENIA HEADBAND KNITTING PATTERN
First i-cord tie
Related: How to knit an i-cord.
Cast on 3 stitches, do not turn.
*Slip the 3 stitches to the right side of the needle. Knit 3.*
Knit the i-cord until the tube measures approximately 30 cm, slide the 3 sts to the right side of the needle, do not turn.
Headband
Increase section
Row 1 (RS): k1, M1R, k1, M1L, sl1 (5sts).
Row 2 (WS): k2, p1, sl2.
Row 3: k2, M1R, k1, M1L, sl2 (7sts).
Row 4: k2, p3, sl2.
Row 5: k2, M1R, k3, M1L, sl2 (9sts).
Row 6: k3, p3, k1, sl2.
Row 7: k2, M1R, p1, k3, p1, M1L, sl2 (11sts).
Row 8: k4, p3, k2, sl2.
Row 9: k2, M1R, p2, k3, p2, M1L, sl2 (13sts).
Row 10: k5, p3, k3, sl2.
Main pattern:
Row 1 (RS): k2, p3, pkyk, p3, sl2.
Row 2 (WS): k5, p3, k3, sl2.
Row 3: k2, p3, k3, p3, sl2.
Row 4: k5, p3, k3, sl2.
Repeat rows 1-4 24 more times or until you reach your desired length.
Repeat rows 1-2 1 more time.
Decrease section
Row 1 (RS): k2, p2tog, p1, k3, p1, p2tog, sl2 (11sts).
Row 2 (WS): k4, p3, k2, sl2.
Row 3: k2, p2tog, k3, p2tog, sl2 (9sts).
Row 4: k3, p3, k1, sl2.
Row 5: k2, ssk, k1, k2tog, sl2 (7sts).
Row 6: k2, p3, sl2.
Row 7: k2, k3tog, sl2 (5sts).
Row 8: k2, p1, sl2.
Row 9: k1, k3tog, k1 (3sts).
Do not turn.
Second i-cord tie
*Slip the 3 stitches to the right side of the needle. Knit 3.*
Knit the i-cord until the tube measures approximately 30 cm. Bind off, cut the yarn, and weave in the tails.