This post may contain affiliate links, meaning we may make a small commission on items purchased through links in this post at no extra cost to you.
Pattern Overview
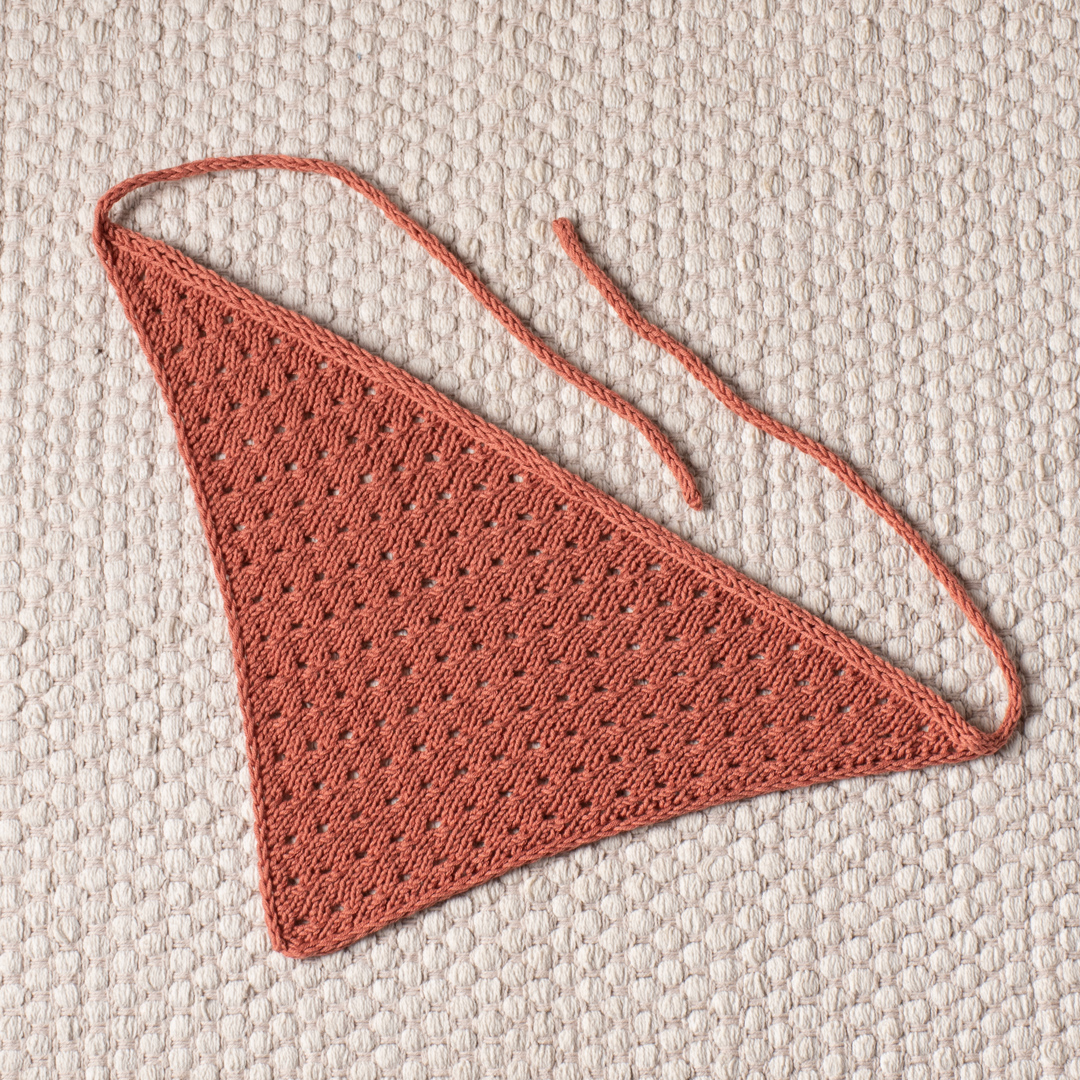
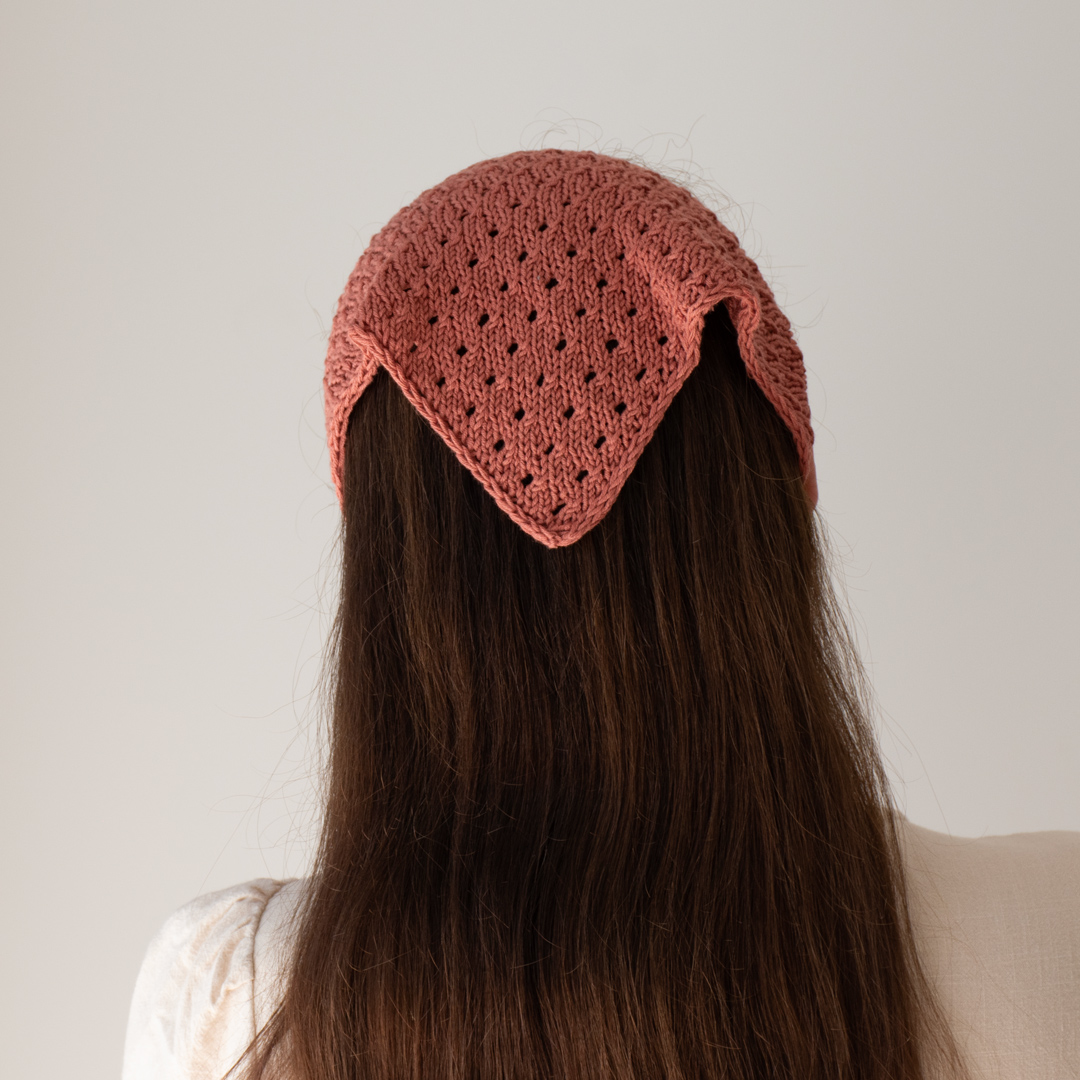
The Canyon Clay Bandana is a great summer accessory that is knit with fine-weight cotton yarn. The design features the staggered eyelet stitch, which consists of yarnovers and right-leaning decreases.
The bandana is knit back and forth; it starts from the bottom edge and grows with increases on the right side. You can easily modify the size of your bandana by adding or subtracting repeats.
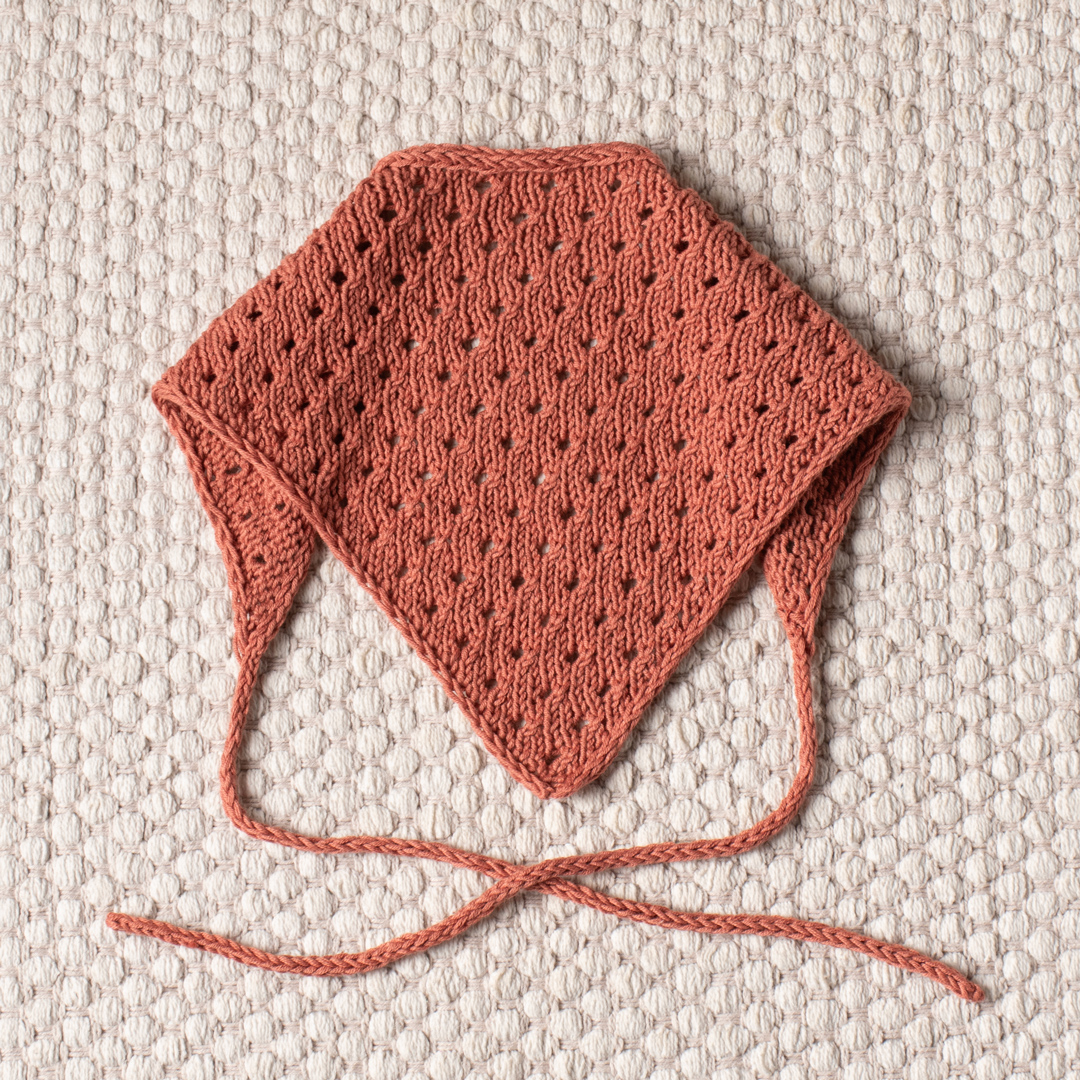
The first and last 2 stitches form an i-cord edging, which makes the edges look neat and prevents them from curling. The bandana also has i-cord ties.
First, you will cast on the required number of stitches. Next, you will knit a triangle from the bottom up until you reach your desired length. Then you will knit the first i-cord tie, connect it to the bandana, knit to the other edge of the bandana, and knit the second tie.
Size
One size.
Finished measurements:
Length without ties: 42cm/ 16.5in.
Height: 22cm/ 8.75in.
Gauge
10 x 10 cm (4x4in) = 24 sts x 32 rows in stockinette stitch after blocking.
Yarn
Drops Daisy in the color red clay (uni color 59), 1 ball.
Needles
An additional 3mm DPN for the ties.
Notions
Tapestry needle, measuring tape, and scissors.
Abbreviations
k – knit.
k2tog – knit 2 stitches together.
p – purl.
RS – right side.
sl – slip stitch as if to purl with yarn in front.
ssk – slip 1 stitch knitwise, slip the next stitch knitwise, return the 2 stitches back to the left needle, knit those 2 stitches together through the back loops.
WS – wrong side.
yo – yarn over.
*-* – repeat the instructions in between the asterisks the number of times specified.
Save this post for later!
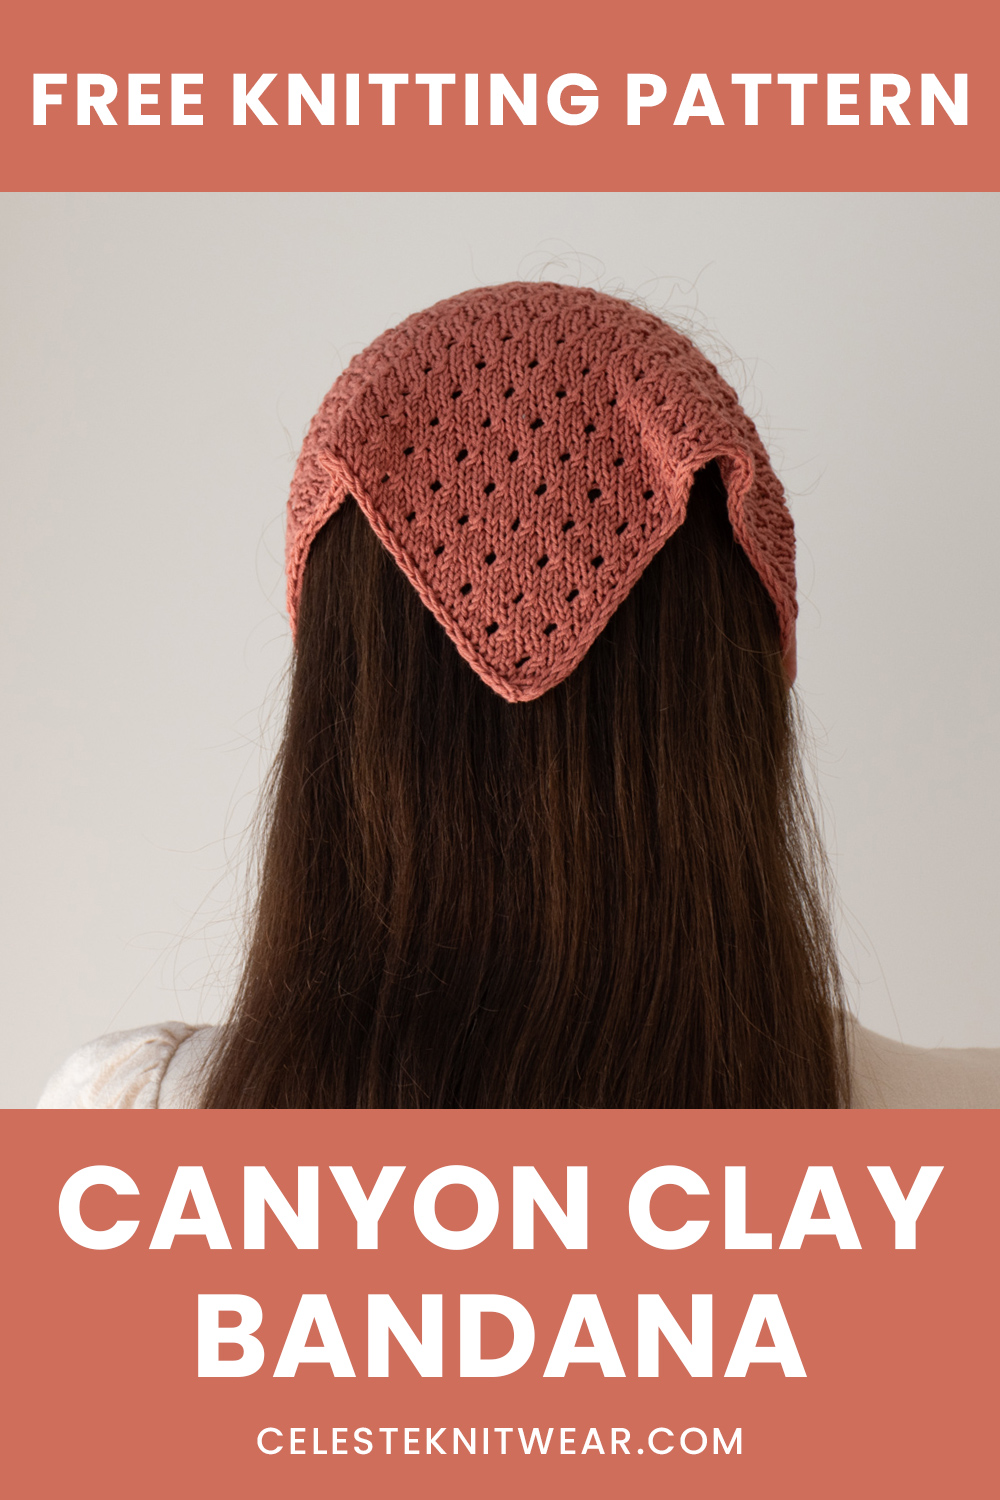
CANYON CLAY BANDANA KNITTING PATTERN
Bandana
Cast on 4 stitches.
Set-up rows
Row 1 (WS): k2, sl2.
Row 2 (RS): k2, yo, sl2 (5sts).
Row 3: k2, p1, sl2.
Row 4: k2, yo, k1, yo, sl2 (7sts).
Row 5: k2, p to last 2 sts, sl2.
Row 6: k2, yo, k3, yo, sl2 (9sts).
Row 7: k2, p to last 2 sts, sl2.
Row 8: k2, yo, k1, k2tog, yo, k2, yo, sl2 (11sts).
Row 9: k2, p to last 2 sts, sl2.
Row 10: k2, yo, k to last 2 sts, yo, sl2 (13sts).
Row 11: k2, p to last 2 sts, sl2.
Pattern rows:
Row 1 (RS): k2, yo, k1, *k2tog, yo, k2* to last 2 sts, yo, sl2 (2 sts increased).
Row 2 (WS): k2, p to last 2 sts, sl2.
Row 3: k2, yo, k to last 2 sts, yo, sl2 (2 sts increased).
Row 4: k2, p to last 2 sts, sl2.
Repeat rows 1-4 16 more times or until you reach your desired length.
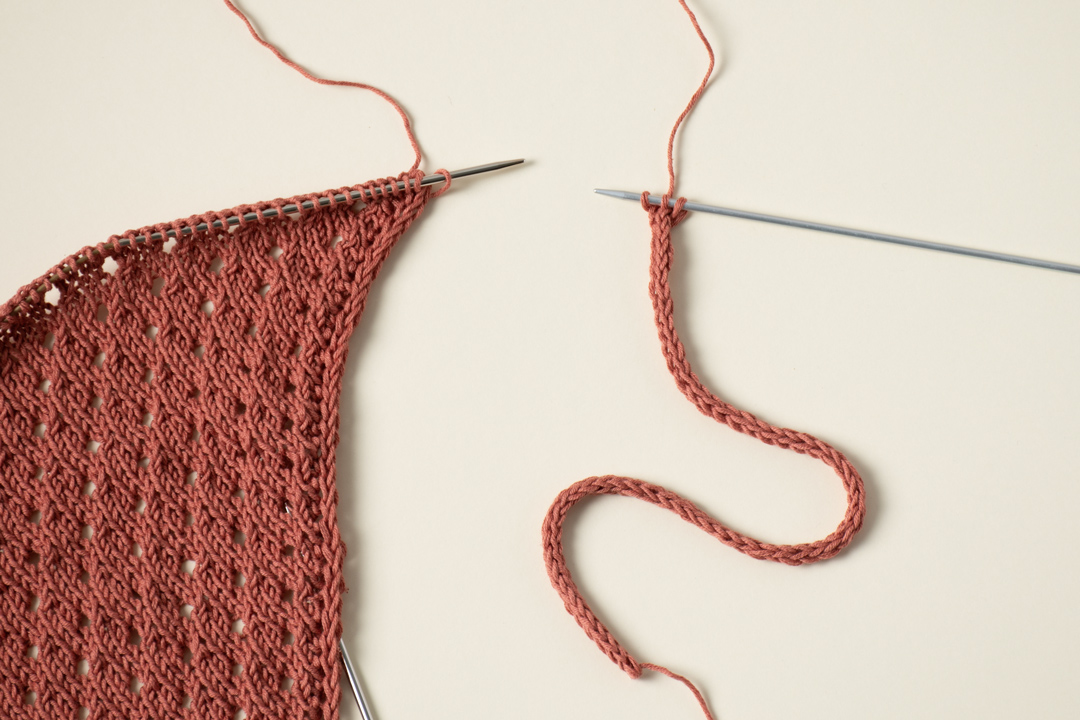
Break the yarn, leaving a 10cm (4″) long tail. Set the bandana aside, leaving the stitches on the needle as is.
First i-cord tie
Related: How to knit an i-cord.
Cast on 3 stitches, do not turn.
*Slip the 3 stitches to the right side of the needle. Knit 3.*
Knit the i-cord until the tube measures approximately 30 cm, do not cut the yarn.
I-cord edging
Transfer the 3 i-cord stitches to the needle, holding the live bandana stitches.
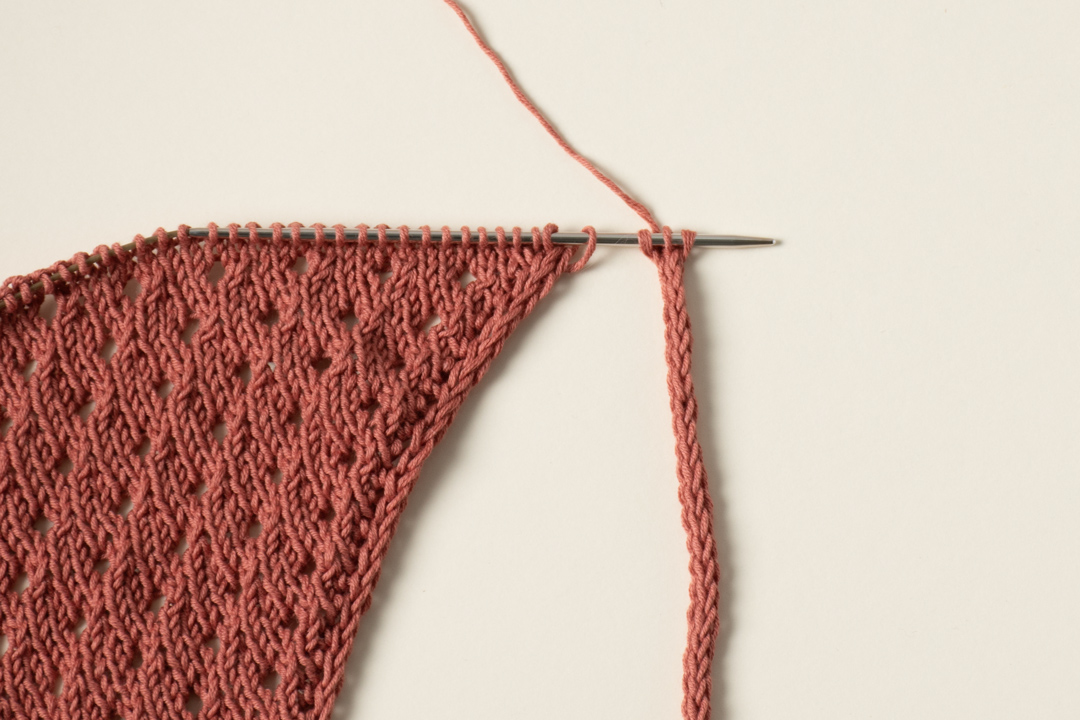
Knit the first two i-cord stitches, ssk (knit the last i-cord stitch together with the first bandana stitch).
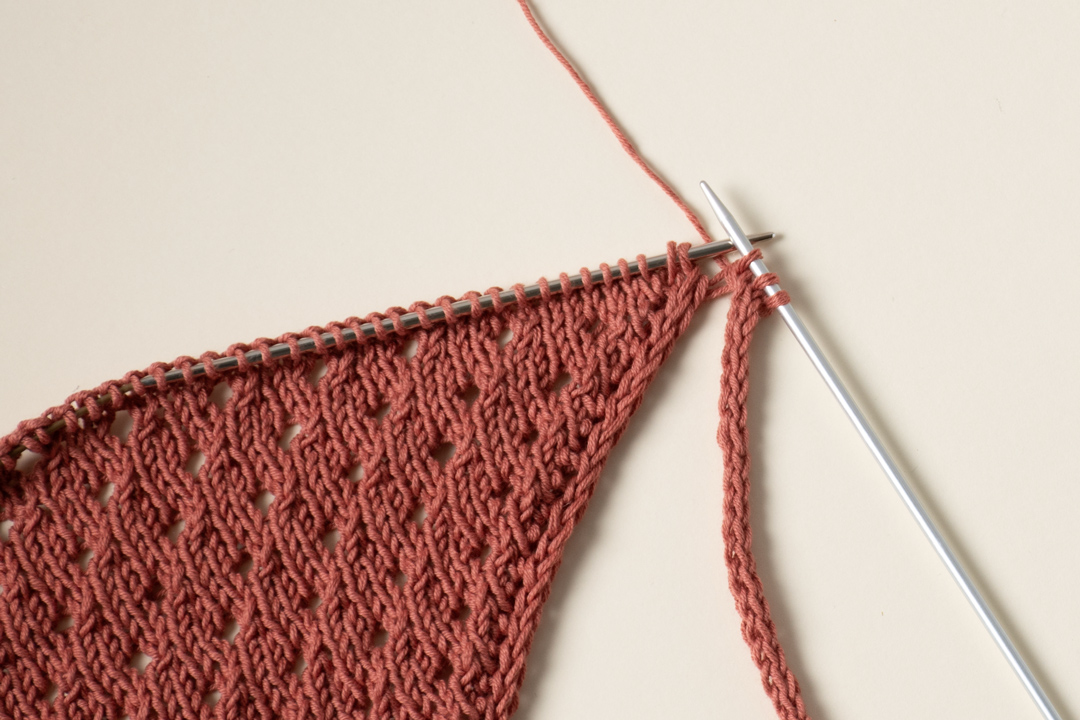
Transfer the first 3 stitches to the needle, holding the live bandana stitches.
Repeat the previous steps: *k2, ssk, transfer 3 stitches to the needle, holding the live bandana stitches*, until you have 3 stitches left.
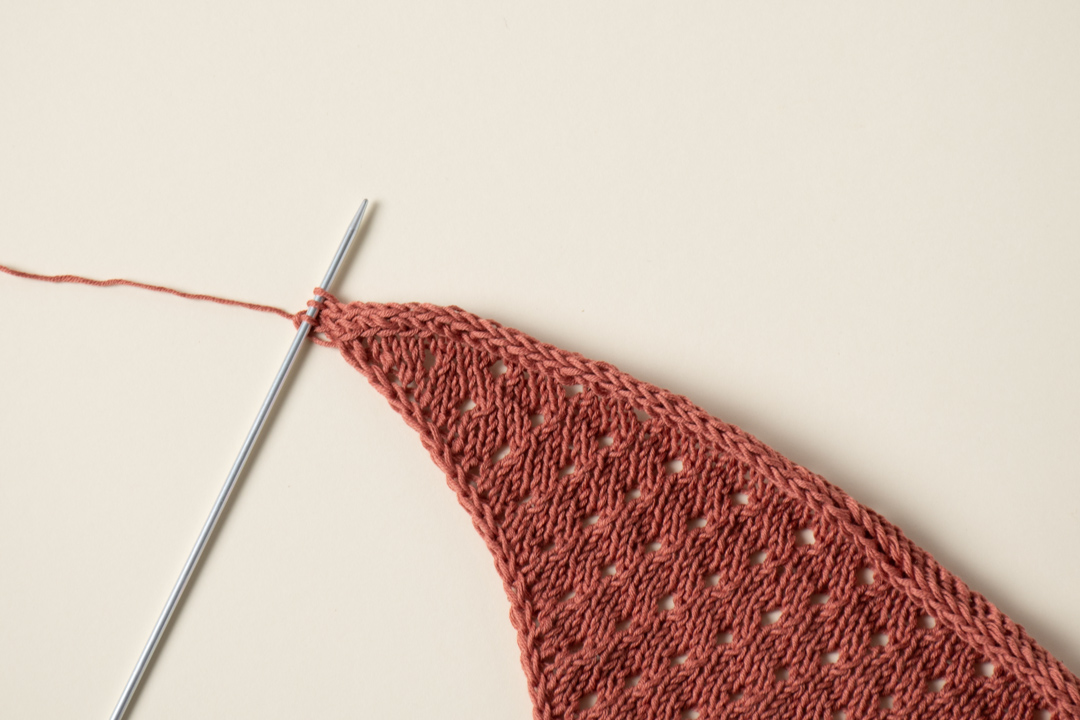
Second i-cord tie
Work the second i-cord tie as the first one:
*Slip the 3 stitches to the right side of the needle. Knit 3.*
Knit the i-cord until the tube measures approximately 30 cm. Bind off, cut the yarn, and weave in the tails.