This post may contain affiliate links, meaning we may make a small commission on items purchased through links in this post at no extra cost to you.
Pattern Overview
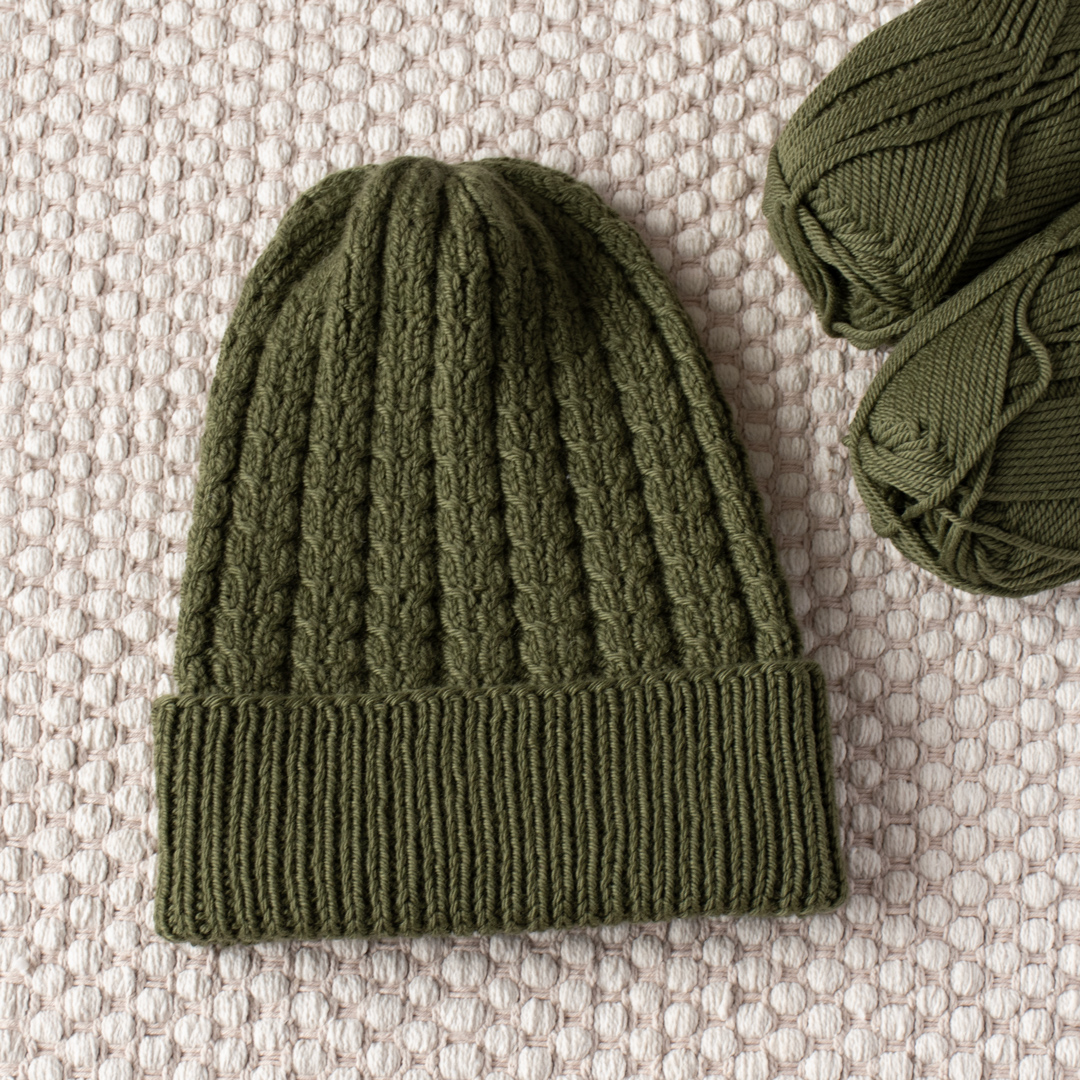
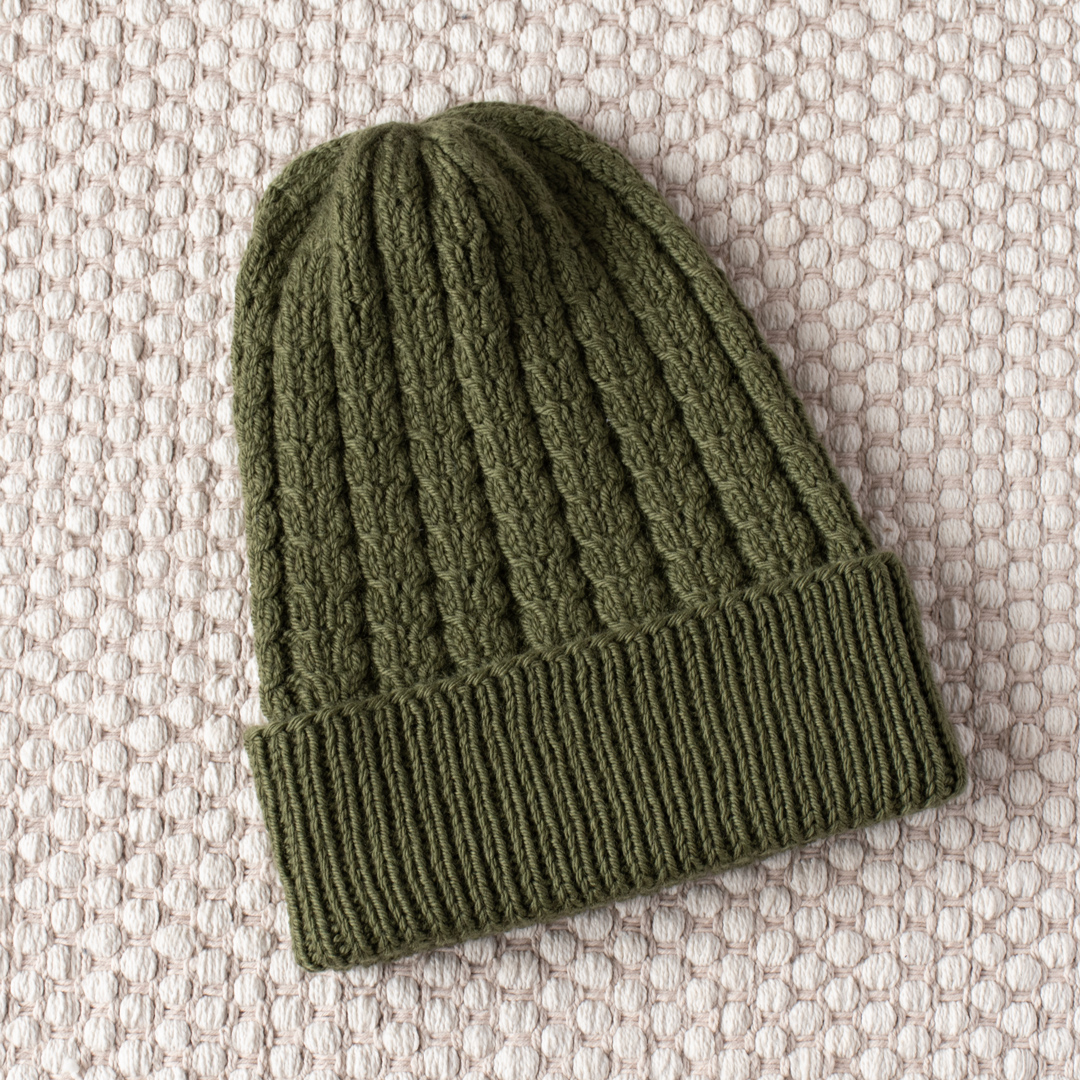
The Serene Landscape Hat is knit in the round from the bottom up with DK-weight merino wool. The design features mirrored cables. The pattern is a 4-round repeat.
The folded brim is knit in 1×1 rib.
The crown decreases are done in the last 7 rounds, and the top of the hat has a gathered look.
First, you will cast on the required number of stitches and join knitting in the round. Next, you will knit a long tube until you reach your desired length. Then you will work the crown decreases. After that, you will thread a tapestry needle and draw the tail through the remaining stitches.
You might also like these patterns:
Size
One size
To fit head circumference: 54-56cm / 21.25-22″.
Finished height: approximately 22cm/ 8.75″ with the brim folded up 7cm/2.75″.
Gauge
10x10cm (4x4in) = 22sts x 36rows in stockinette stitch after blocking on 3.5mm (US 04) needles.
Yarn
Drops Daisy in the color moss green (uni color 17), 2 balls.
Needles
3mm (US 02), 40cm (16″) circular knitting needles for the brim.
3.5mm (US 04), 40cm (16″) circular knitting needles for the body.
3.5mm (US ), 80cm (32″) circular knitting needles or DPNs for the crown decreases.
Notions
Cable needle (optional), stitch marker, tapestry needle, measuring tape, scissors.
Abbreviations
1/1LC (1 over 1 Left Cross) – slip the next stitch onto a cable needle and hold in front, knit 1 stitch, knit 1 stitch from the cable needle.
1/1RC (1 over 1 Right Cross) – slip the next stitch onto a cable needle and hold in back, knit 1 stitch, knit 1 stitch from the cable needle.
k – knit.
k2tog – knit 2 stitches together.
p – purl.
p2tog – purl 2 stitches together.
st (s) – stitch (es).
* * – repeat the instructions in between the asterisks the number of times specified.
Save this post for later!
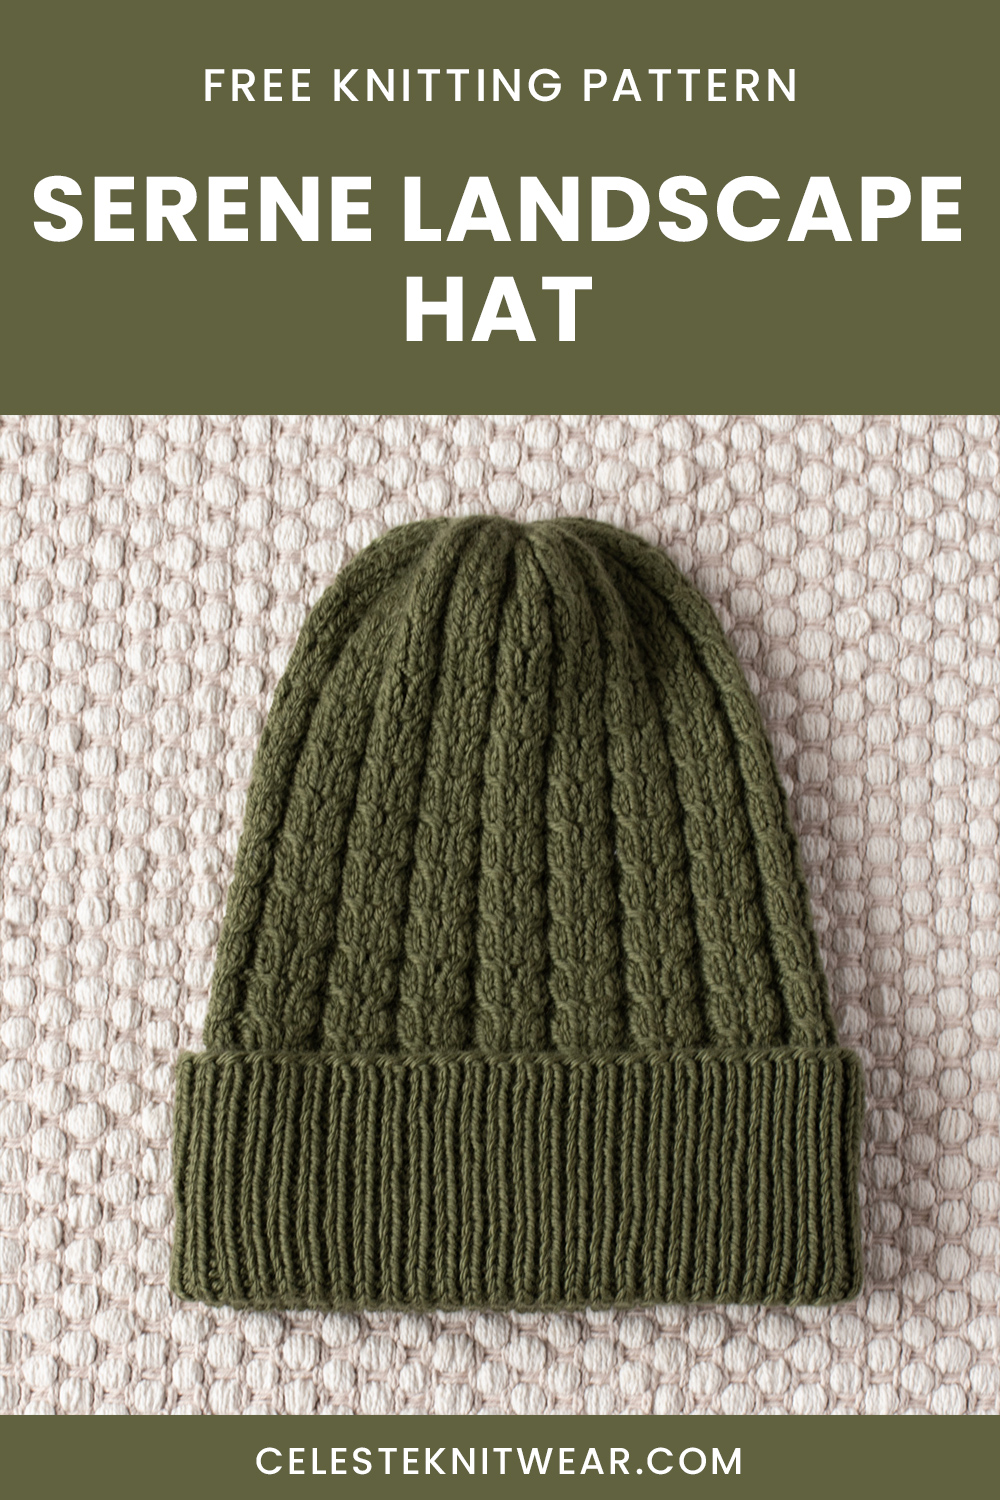
SERENE LANDSCAPE HAT KNITTING PATTERN
Brim
With 3mm (US 02) needles, cast on 112 sts using the Long-tail cast-on. Place a stitch marker and join for working in the round, being careful not to twist the stitches.
TIP: Join in the round using the invisible join method. Then turn your work to knit in the opposite direction, so that the right side of the cast-on will be visible when you fold the brim.
Round 1: *p1, k1* to end.
Repeat round 1 until the brim measures 13cm/ 5.25″ from the cast-on edge.
Body
Switch to 3.5mm (US 04) needles.
Rounds 1-2: *p2, k2, p1, k2* to end.
Round 3: *p2, 1/1RC, p1, 1/1LC* to end.
Round 4: *p2, k2, p1, k2* to end.
Repeat rounds 1-4 until the hat measures approximately 27cm/ 10.5″ from the cast-on edge.
Crown shaping
Change to longer or double-pointed needles when necessary.
Round 1: *p2tog, k2, p1, k2* to end (96sts).
Round 2: *p1, k2, p1, k1* to end.
Round 3: *p1, k2tog* to end (64sts).
Round 4: *p1, k1* to end.
Round 5: k2tog to end (32sts).
Round 6: k to end.
Round 7: k2tog to end (16sts).
Finishing
Cut the yarn, leaving a 15cm (6″) long tail. Thread a tapestry needle and draw the tail through the remaining stitches, tighten. Weave in all loose ends.
Wet block the finished hat.
When the hat has fully dried, fold the brim up 7cm/2.75″. The brim is designed to cover the first few rows of the pattern (approximately 1cm/0.5″), so when wearing the hat, the inner ribbing doesn’t peak out.