
Pattern Overview
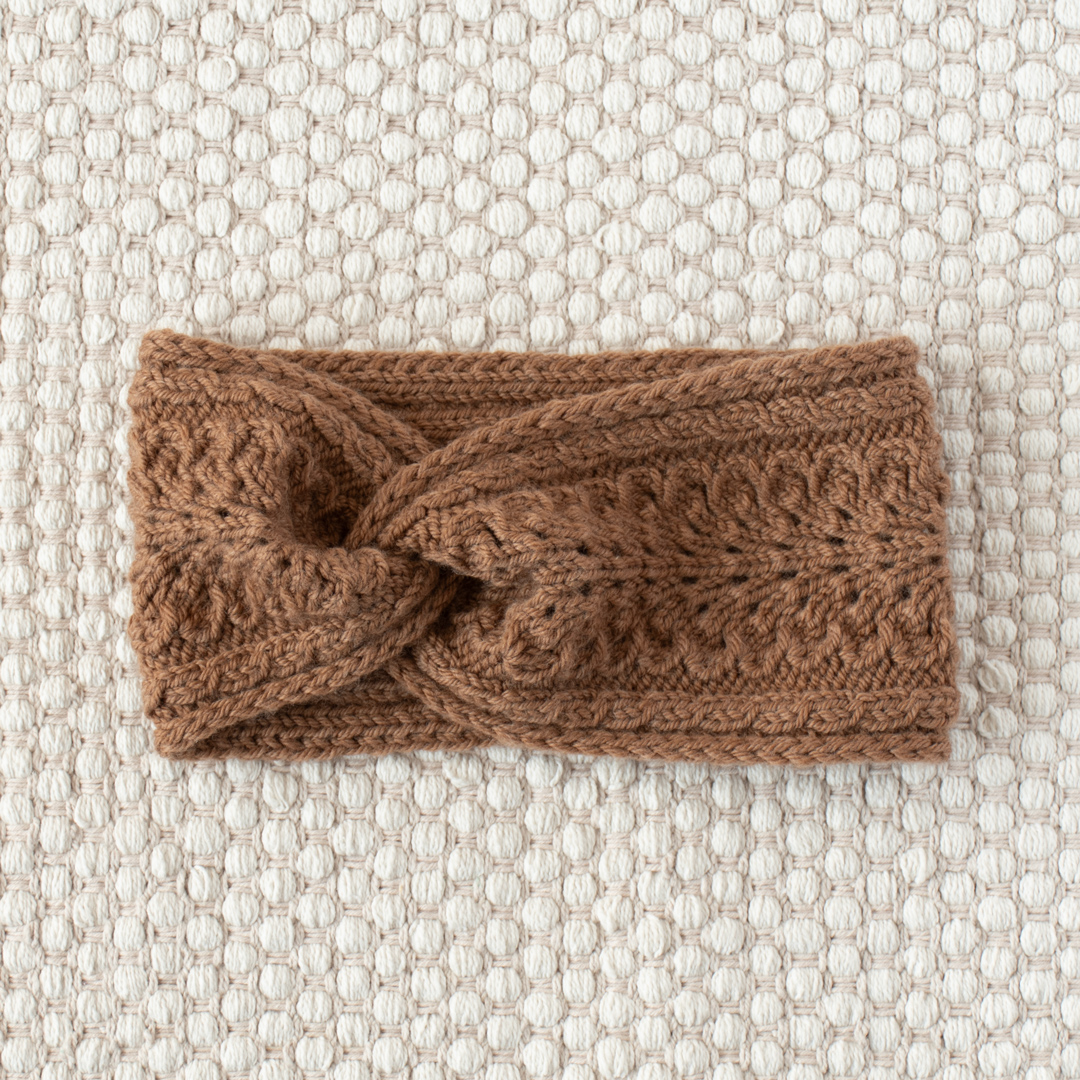
The Fern Alley Headband is a warm and beautiful accessory.
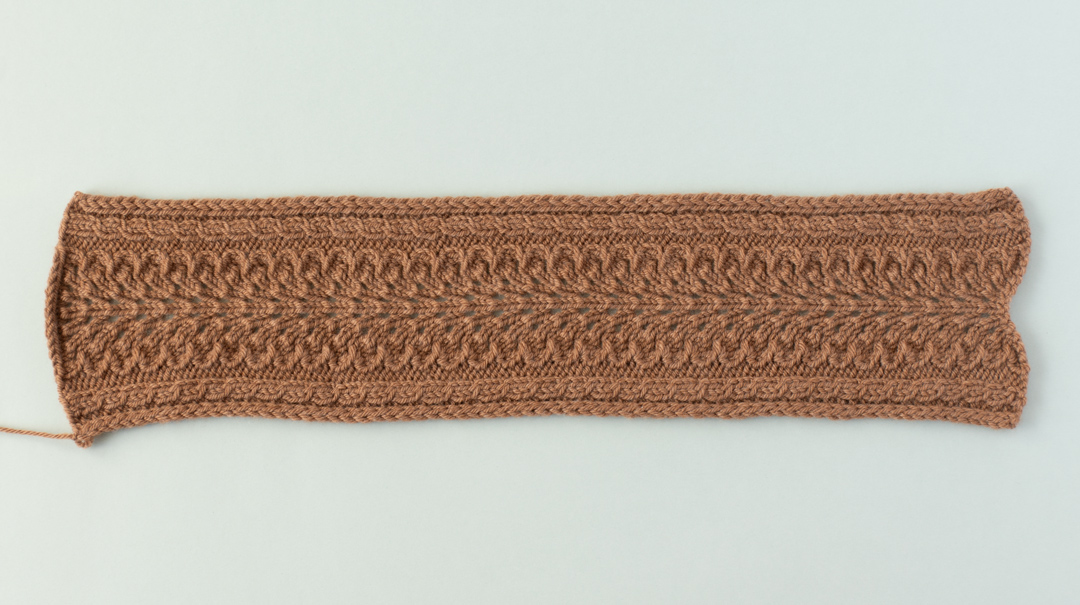
The headband is knitted flat.
The pattern is a 4-row repeat. It features a 13-stitch lace panel in the middle flanked by two small cables on a reverse stockinette background.
The first and last 2 stitches form an i-cord edging, that makes the edges look neat and prevents them from curling.
The the cast-on and bind-off edges are seamed together forming a decorative twist in the middle. The seam is hidden by the twist and is not visible.
First, you will cast on the required number of stitches. Next, you will knit a long rectangle until you reach your desired length. Then you will bind off the stitches. After that you will seam the edges together to form the twist.
Size
S (M) L
To fit head circumference: 54-55 (56-57) 58-59cm / 21.25-21.75 (22-22.5) 22.75-23.25in
Width: 11cm/ 4.25in
Gauge
10 x 10 cm (4x4in) = 21sts x 28rows in stockinette stitch after blocking.
Yarn
DROPS Daisy in the color almond (mix 13), 1 ball.
Needles
4mm (US 6) knitting needles.
Notions
Tapestry needle, measuring tape, scissors.
Pattern Notes
All the wrong-side rows are identical.
The twist will hide the seam, so you don’t need to finish knitting the headband with a full pattern repeat (that is after row 4), you can bind off stitches after you have reach your desired length.
Abbreviations
k – knit.
p – purl.
sl – slip stitch as if to purl with yarn in front.
k4tog – knit 4 stitches together.
ssssk – slip, slip, slip, slip, knit: slip 1 stitch knitwise, repeat 3 more times, return the 4 stitches back to the left needle, knit those 4 stitches together through the back loops.
yo – yarn over.
1/1LC (1 over 1 Left Cross) – slip the next stitch onto a cable needle and hold in front, knit 1 stitch, knit 1 stitch from the cable needle.
1/1RC (1 over 1 Right Cross): slip the next stitch onto a cable needle and hold in back, knit 1 stitch, knit 1 stitch from the cable needle.
RS – right side.
WS – wrong side.
Save this post for later!
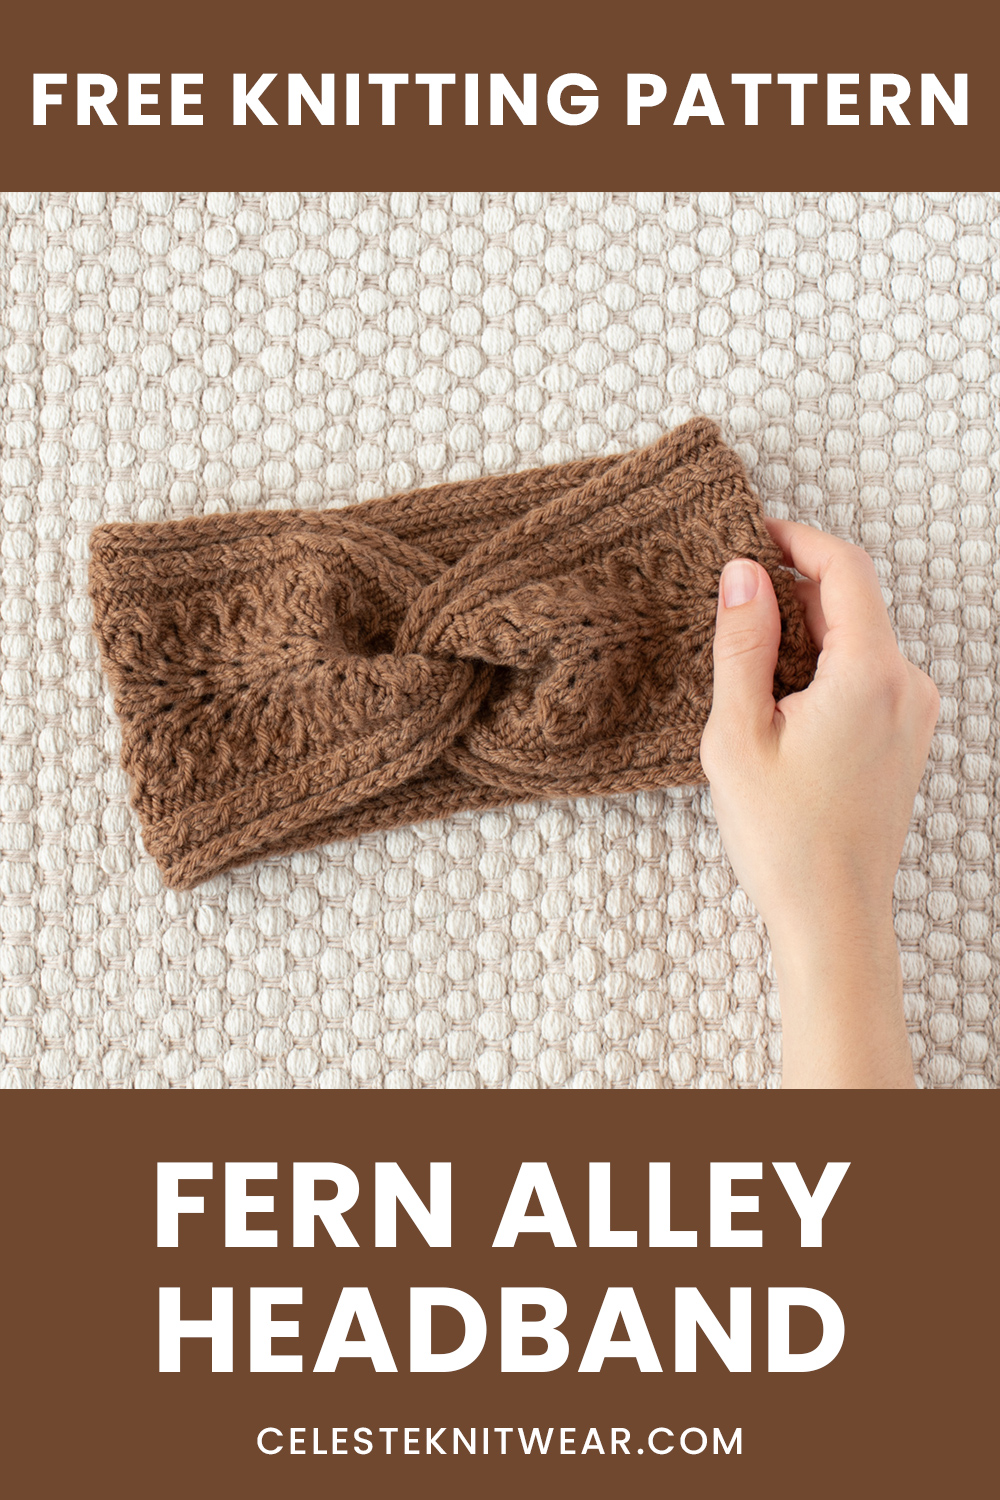
FERN ALLEY HEADBAND KNITTING PATTERN
Headband
Cast on 29 stitches.
Row 1 (RS): k2, p2, k2, p2, k13, p2, k2, p2, sl2.
Row 2 (WS): k4, p2, k2, p13, k2, p2, k2, sl2.
Row 3: k2, p2, 1/1RC, p2, k4tog, yo, k1, yo, k1, yo, k1, yo, k1, yo, k1, yo, ssssk, p2, 1/1LC, p2, sl2.
Row 4: k4, p2, k2, p13, k2, p2, k2, sl2.
Repeat rows 1-4 until the headband measures 49 (51) 52.5cm/ 19.25 (20) 20.75in.
Bind off sts. Cut the yarn, leaving a 30cm (12″) tail for seaming.
At this step, it is best to wet block the finished headband and lay it flat to dry. Then weave in the cast-on tail.
Before seaming you can also wrap the headband around your head to see if it fits nicely and is not too long. If it is, simply unravel the extra rows, bind-off the stitches, and continue to seaming.
Twist
Lay the headband flat. The right side should be facing you.
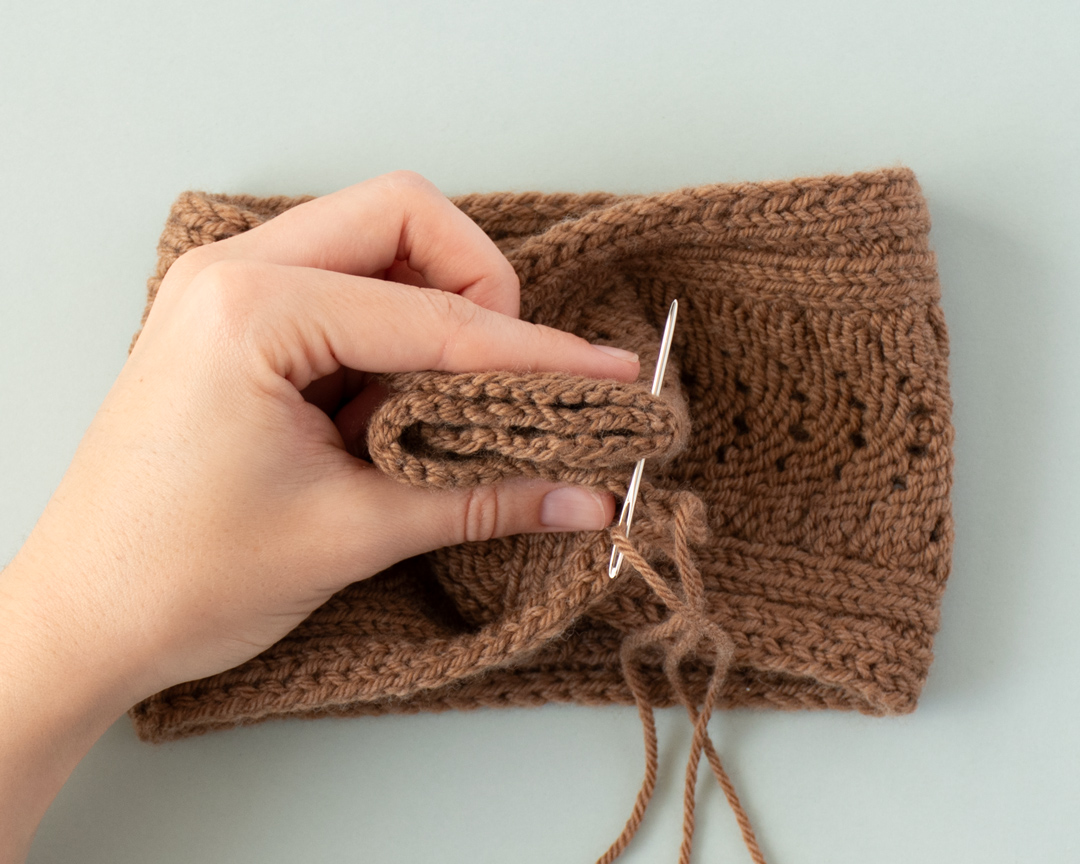
Thread the yarn tail onto a tapestry needle. Fold each end of the headband in half, so they form a “V”.
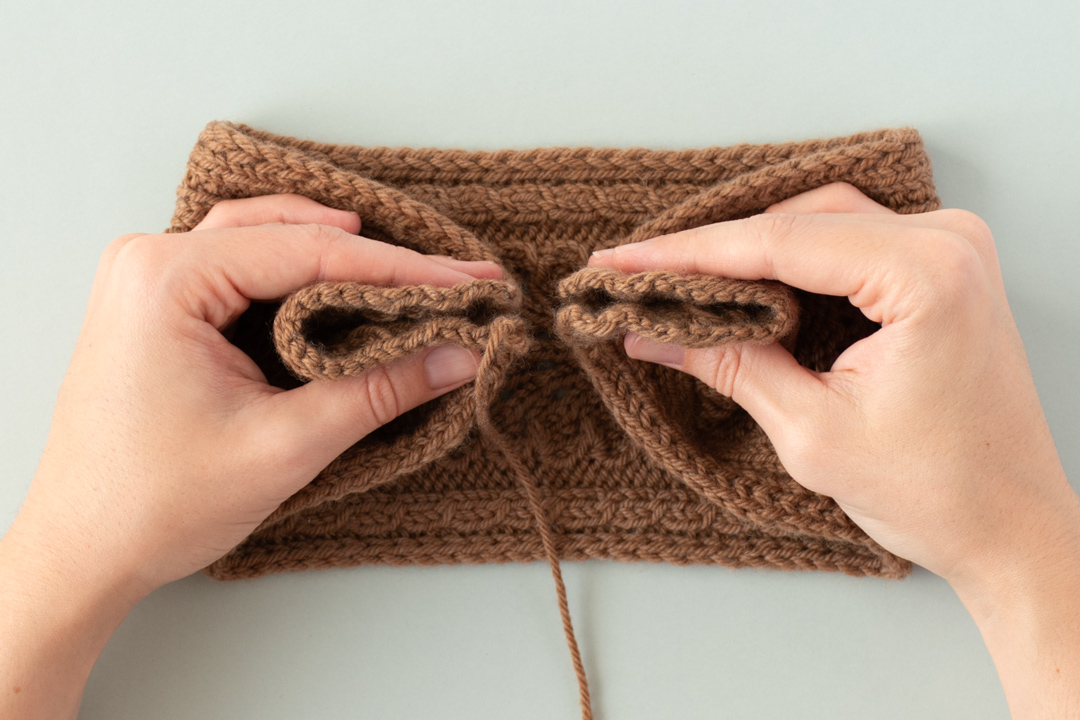
Place one edge into another, making sure the yarn tail is not in between the layers.

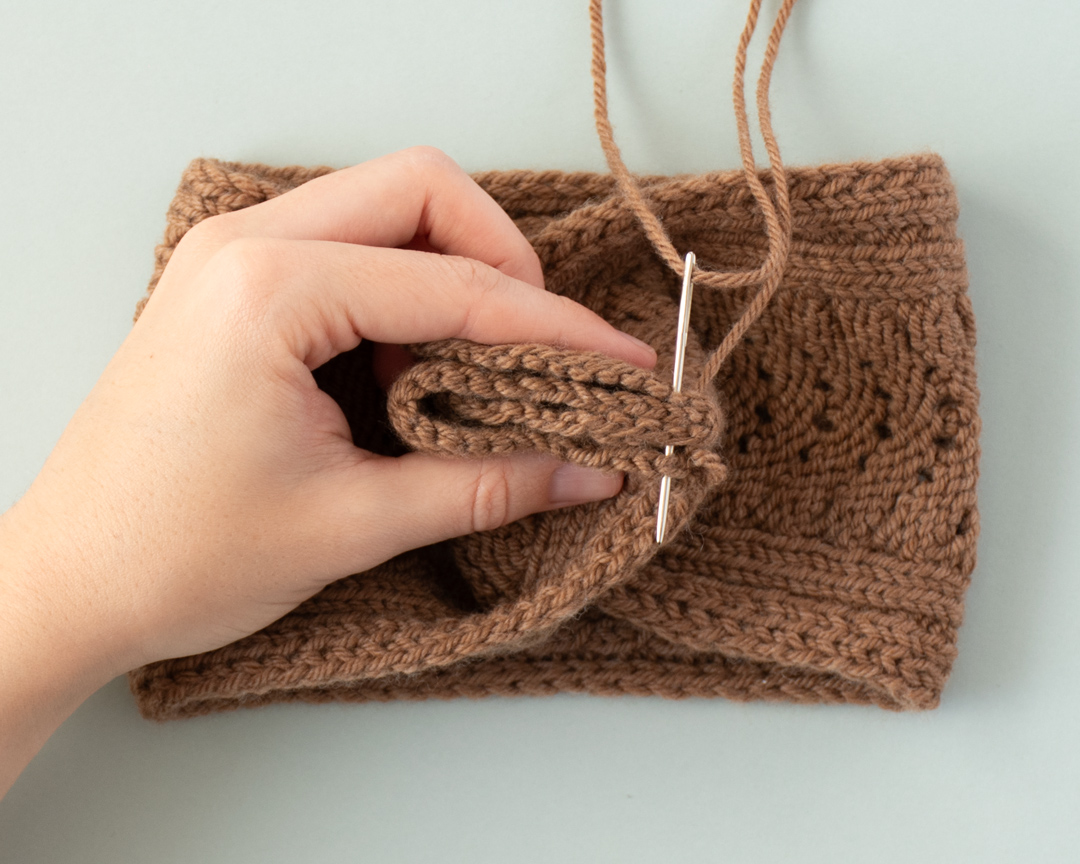
Sew through the four layers of fabric from one end to the other. Go back and forth, making sure you go through all the layers.
Weave in the yarn tail. Turn the headband inside out.


